
How We Take Our Travel Couple Photos
Capturing memories with your partner is so important. It’s nice having the simple ones that pretty much everyone has, but it’s so fun creating unique photos together and making them into something that will really help you relive the experience together, and of course look beautiful.
People often ask us about our cutesy, romantic couple photos, whether it’s how we got them, what we used, or how we got the idea. I’ll share with you our tips and tricks for how we take our travel couple photos together.
Disclaimers: This article contains affiliate links that help support me and allow me to continue to make content for you! If you click on one and buy something, I may get a small commission at no extra cost to you. Please use my links to help support me so that I can start bringing bigger and better projects your way!
All images and videos on this website are owned by Caryn Wells and Zack Blake unless otherwise stated.
Related Posts:


The Gear:
You don’t absolutely need any special gear to get great photos, but it’s something worth investing in if you want to spend less time running back and forth and put less physical effort into the creation of your beautiful shots and more creativity. Our photo basics include:
a tripod that can be used easily over uneven terrain
a shutter release so that you don’t have to go running back and forth with the self-timer
Bonus: An internal intervalometer - Whether or not you have one will depend on your camera model
Since we’re usually shooting in the great outdoors, we need our tripod to be made of a good metal (we like carbon fiber, so there’s no rusting from a little rain), lightweight, very sturdy with a hook to weigh it down, and compact. We’ve gone through a few tripods trying to find the perfect one for us, but we finally found one that we are satisfied with. We also sometimes use a mini flexible tripod instead of a full size since it’s easier to carry and you can place it practically anywhere.
Click here to check out our camera gear and see what we’re using!
Having a shutter release completely changed the game for us when it came to our couple photos. We used to have a handy wireless shutter release that we ordered from amazon but now we use an app that I can connect to my camera with my phone. I just have to remember to hide my phone out of frame! I usually stick it in my pocket! Most cameras have an app these days so this will most likely be your best option. Running back and forth with the self-timer quickly got tiring and frustrating. It works fine for starting out but it can really become an issue when you need to be quick (like in a high-traffic tourist spot). It’s also difficult or nearly impossible with longer distances.
If you have a photo with a substantial amount of distance between you and the camera or maybe you just need to be fast, you should try shooting with an intervalometer. There are external ones that you can buy, but lots of cameras have internal intervalometers. This is the tool you would also use to take timelapses, this is just another way to use that tool. It’ll take photos for you in intervals after a specified amount of time. For example, you can set it to take 20 photos every 10 seconds or whatever you need it to be set to. You can also tell it when to start taking those photos. For this use, we’d most likely tell it to start taking photos immediately.
For more advanced gear, you can use a drone. When we want further away shots of us together, we opt for a drone! It’s not too difficult to hide the controller for the drone when it’s further away. We can just shield it with our bodies. Keep in mind you should look up the rules and regulations in the area for using a drone before flying it. We only use a drone when and where we’re allowed to. Please kindly do the same.
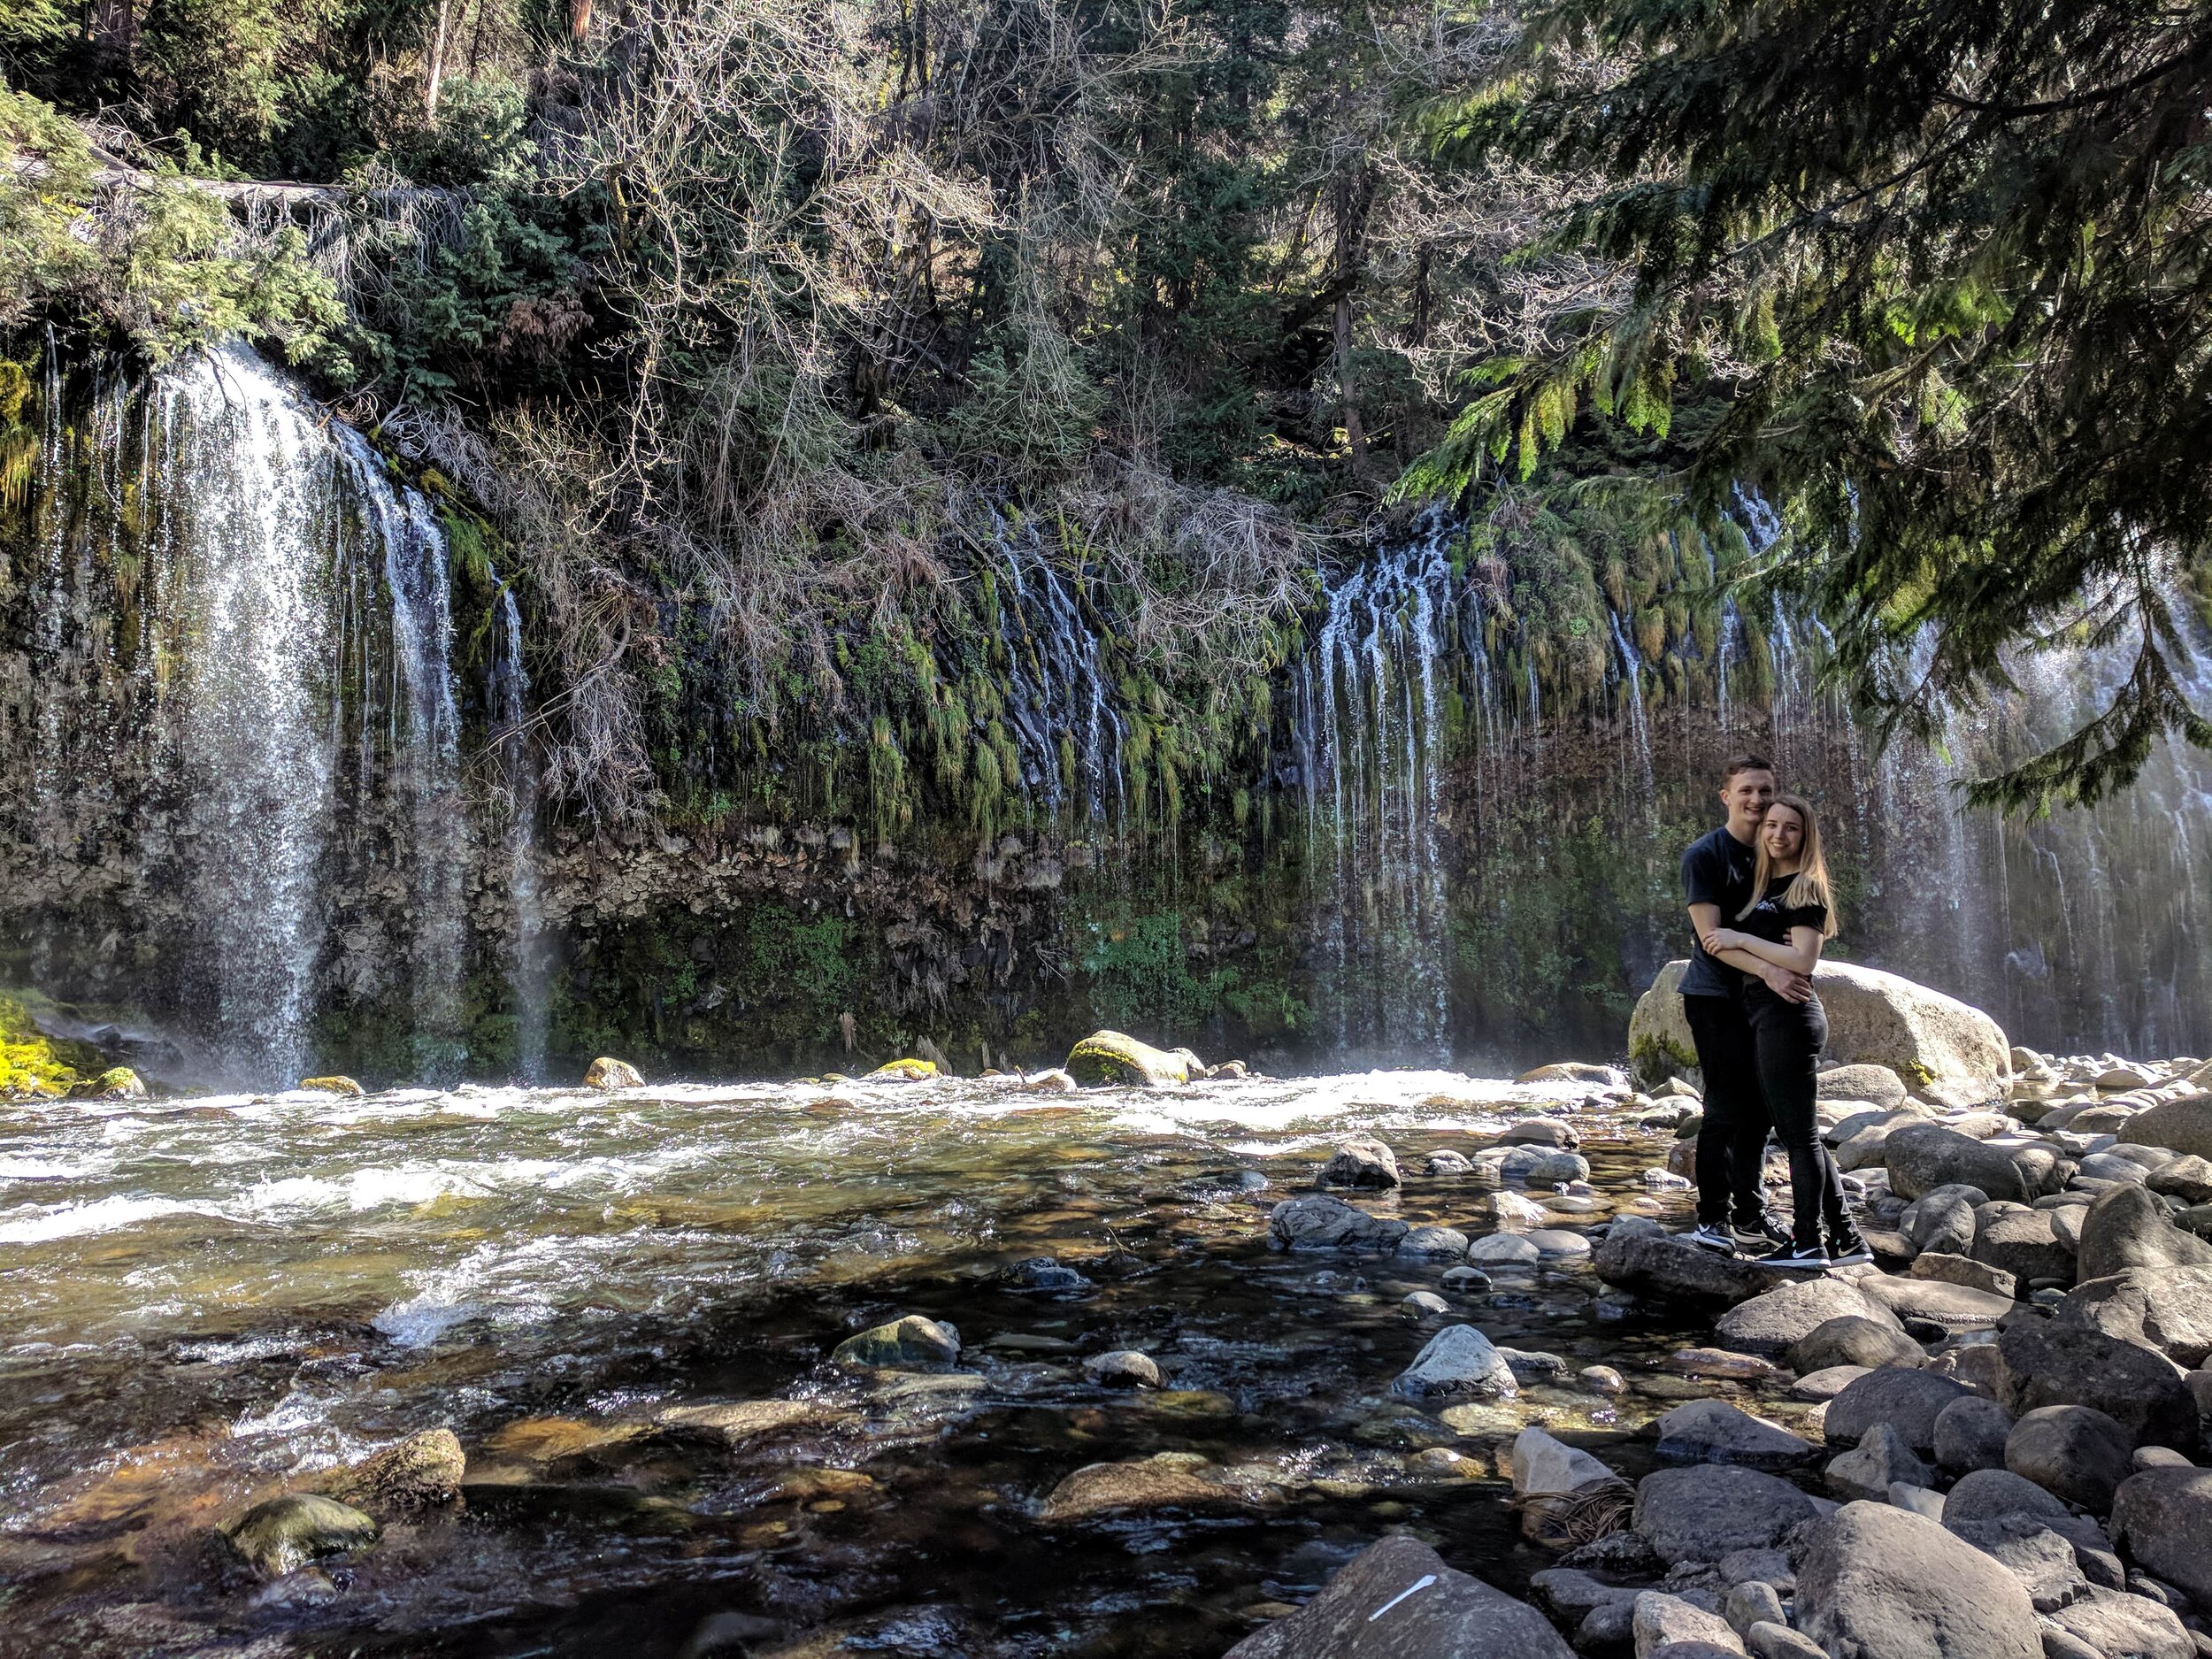
Not everyone can afford a drone for their far away shots. For another method that doesn’t require any gear at all, this is when you might ask a fellow (trustworthy looking) traveler to click the shutter button for you. I find this to be the least taxing when you have your shot lined up beforehand, your partner in place, and leave your camera on a tripod after showing your kind stranger how to take the photo then run into frame for them.
Most of the time when you just hand someone your expensive equipment, they don’t know how to use it and they definitely don’t know how to line up a shot or use the composition you want before clicking the shutter button. Make it incredibly easy for that person that’s doing you an incredible favor. Make it easier for them and you, and have it all set up before asking them. You can also ask a friend to take it for you of course, but sometimes that’s just not the case.
Setting Up the Shot:
Think about your composition:
Before you take the shot or even set up the shot, think about how you want it to look. Try to imagine the shot before it happens and where you’d like to be in it. Then either you or your significant other will line up the shot while keeping that composition in mind. Sometimes this involves a lot of asking the person in the frame to move around, but it’s much better to have the subject move than the camera if you already have the composition you want.
Posing:
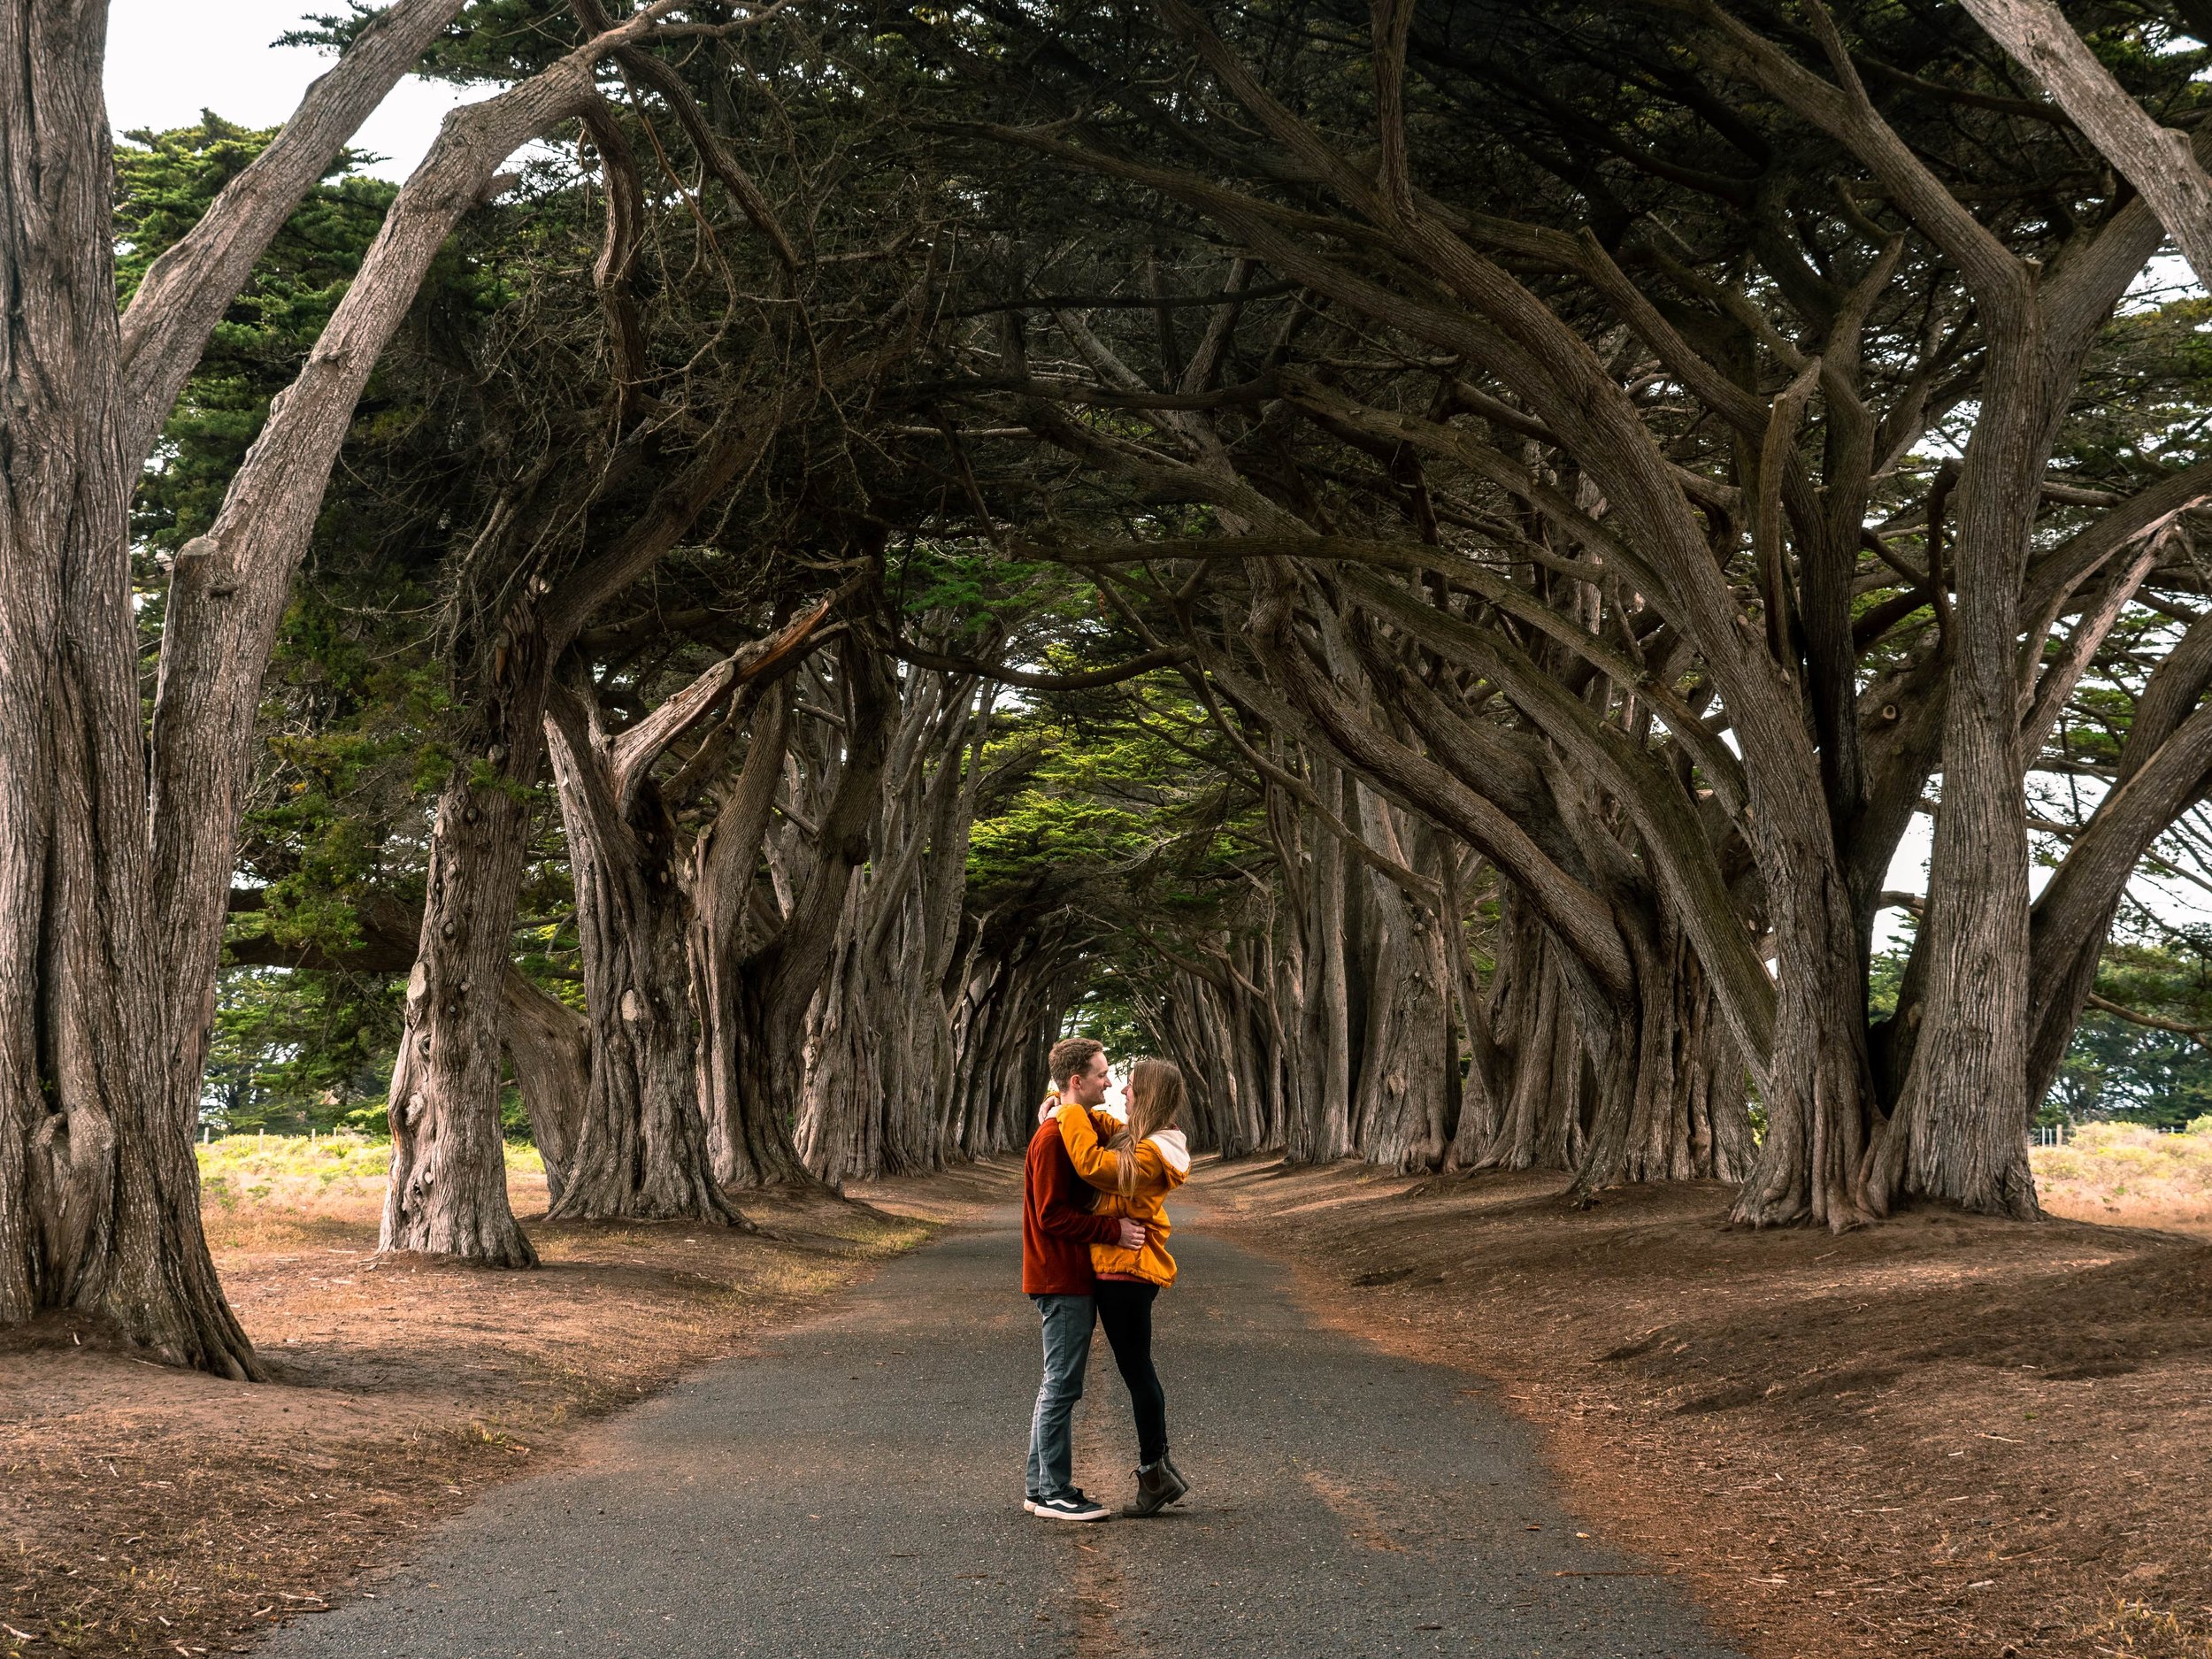
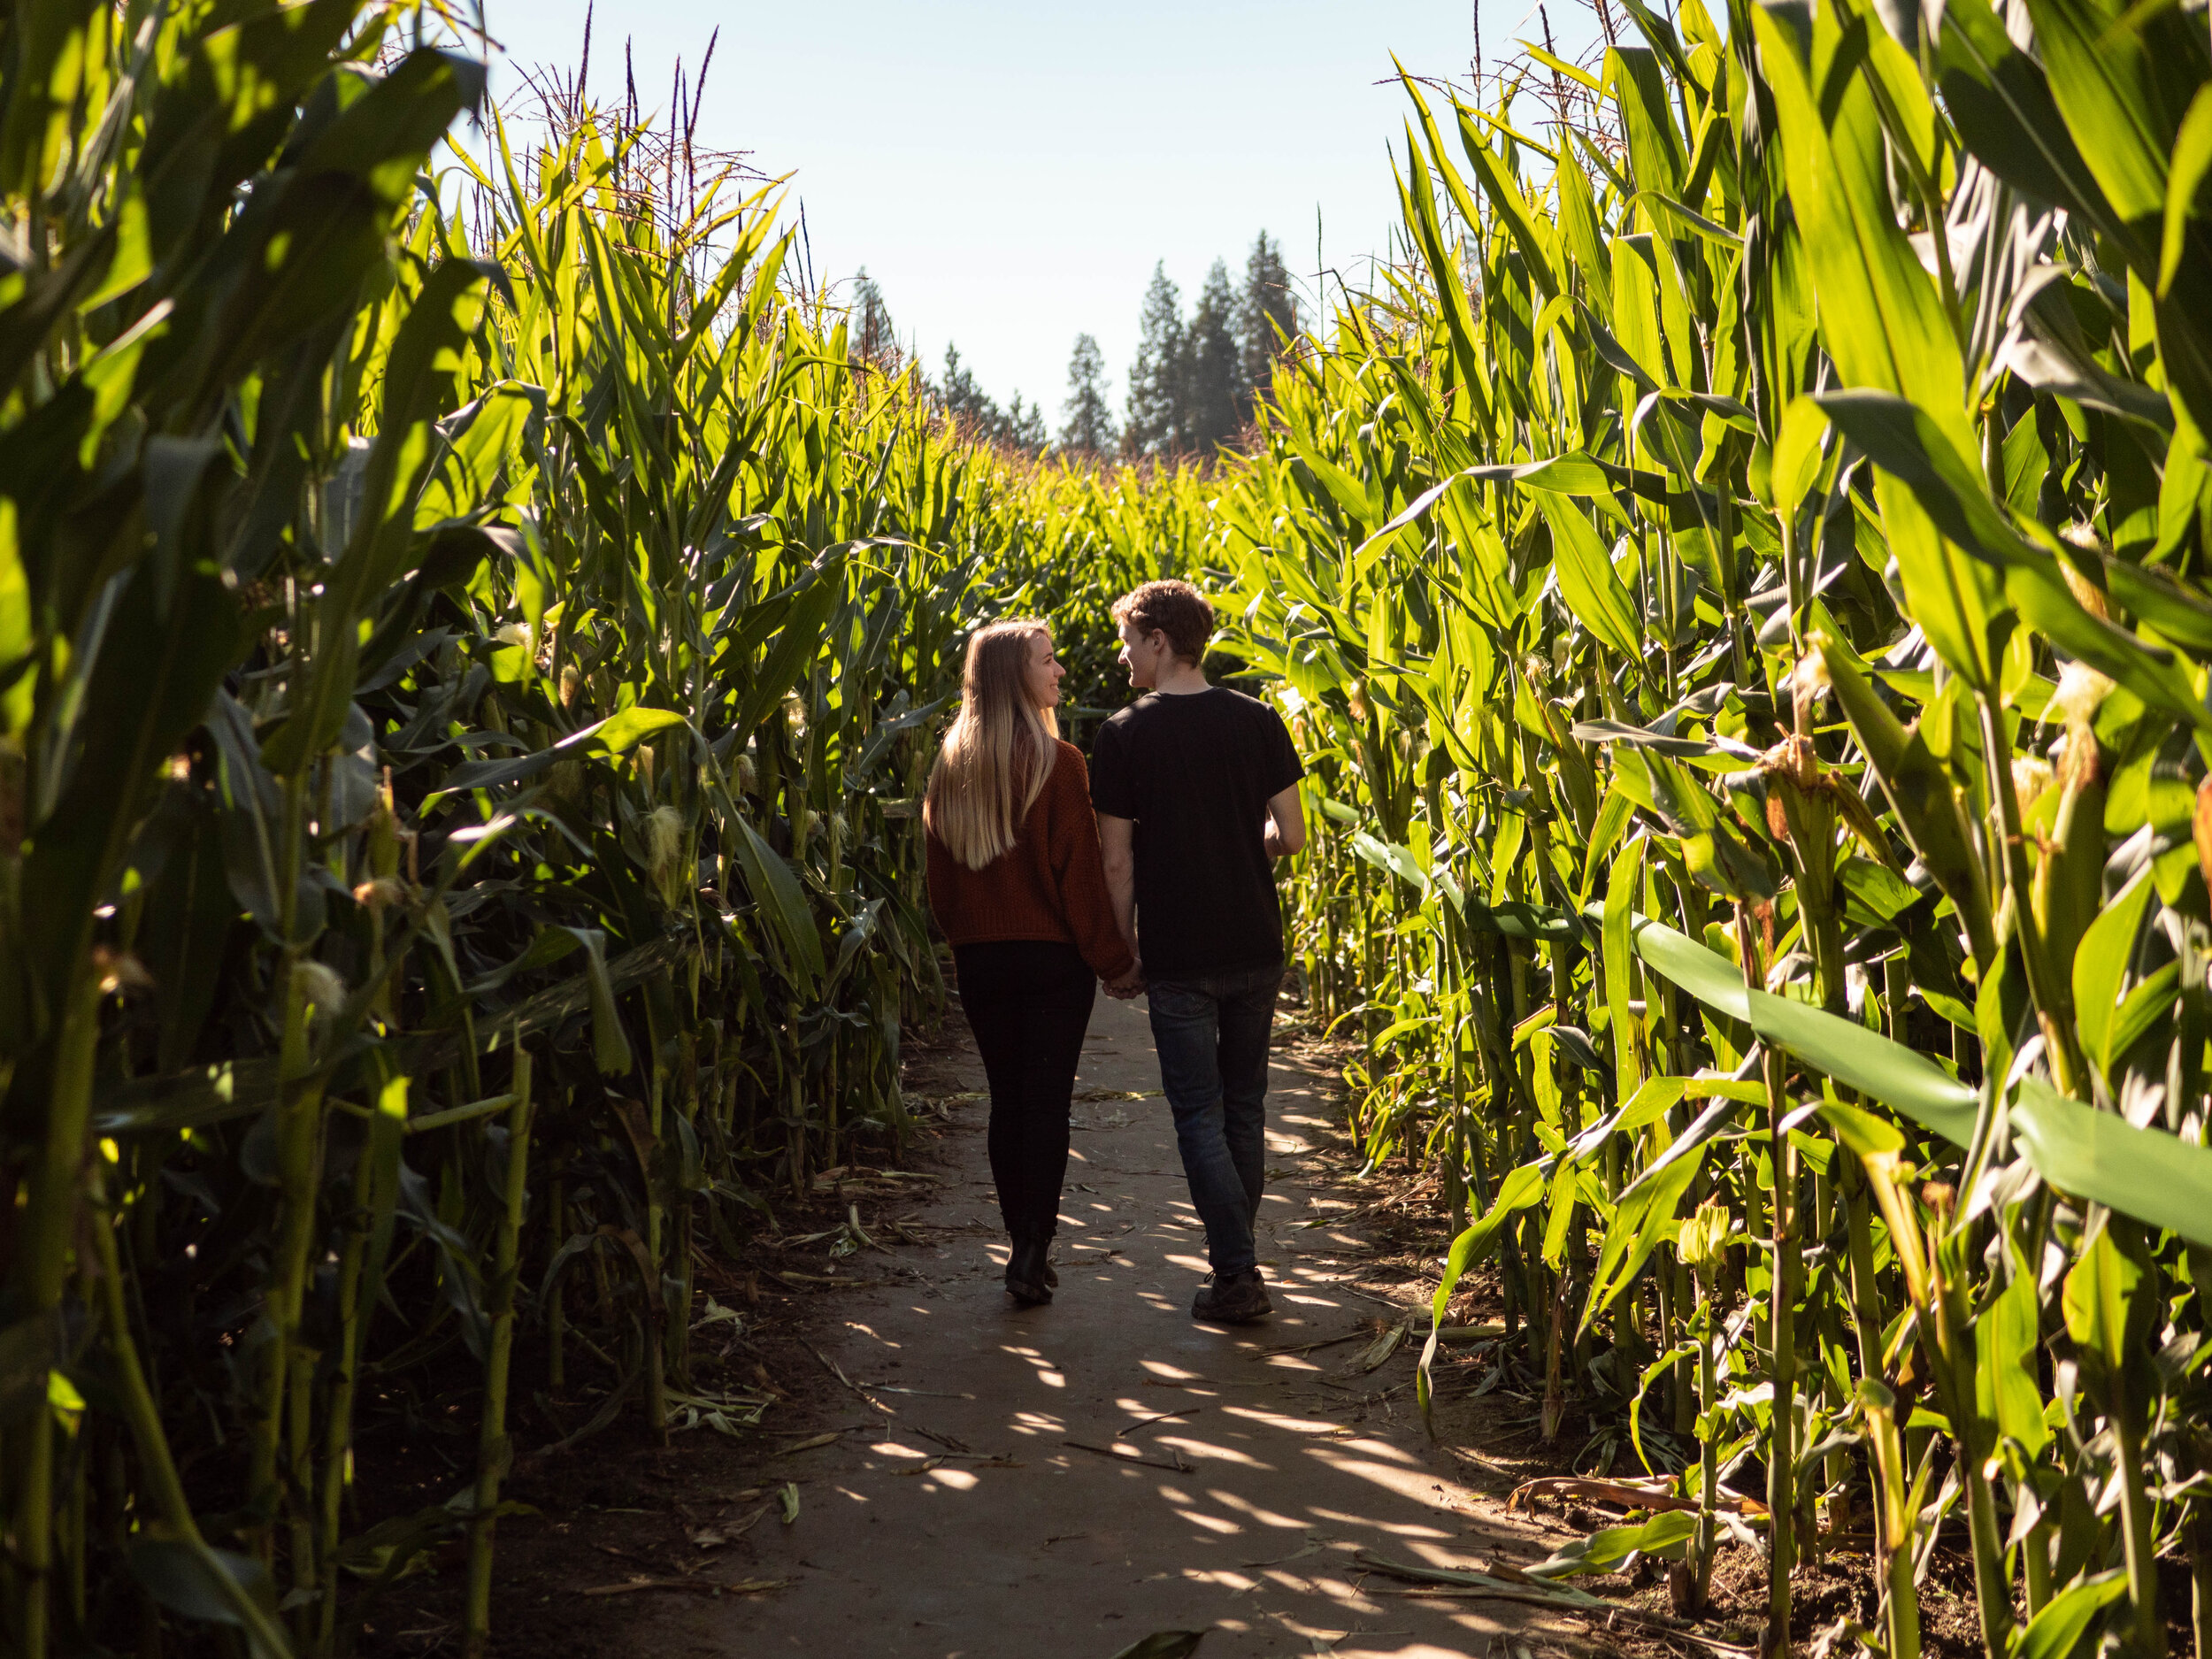
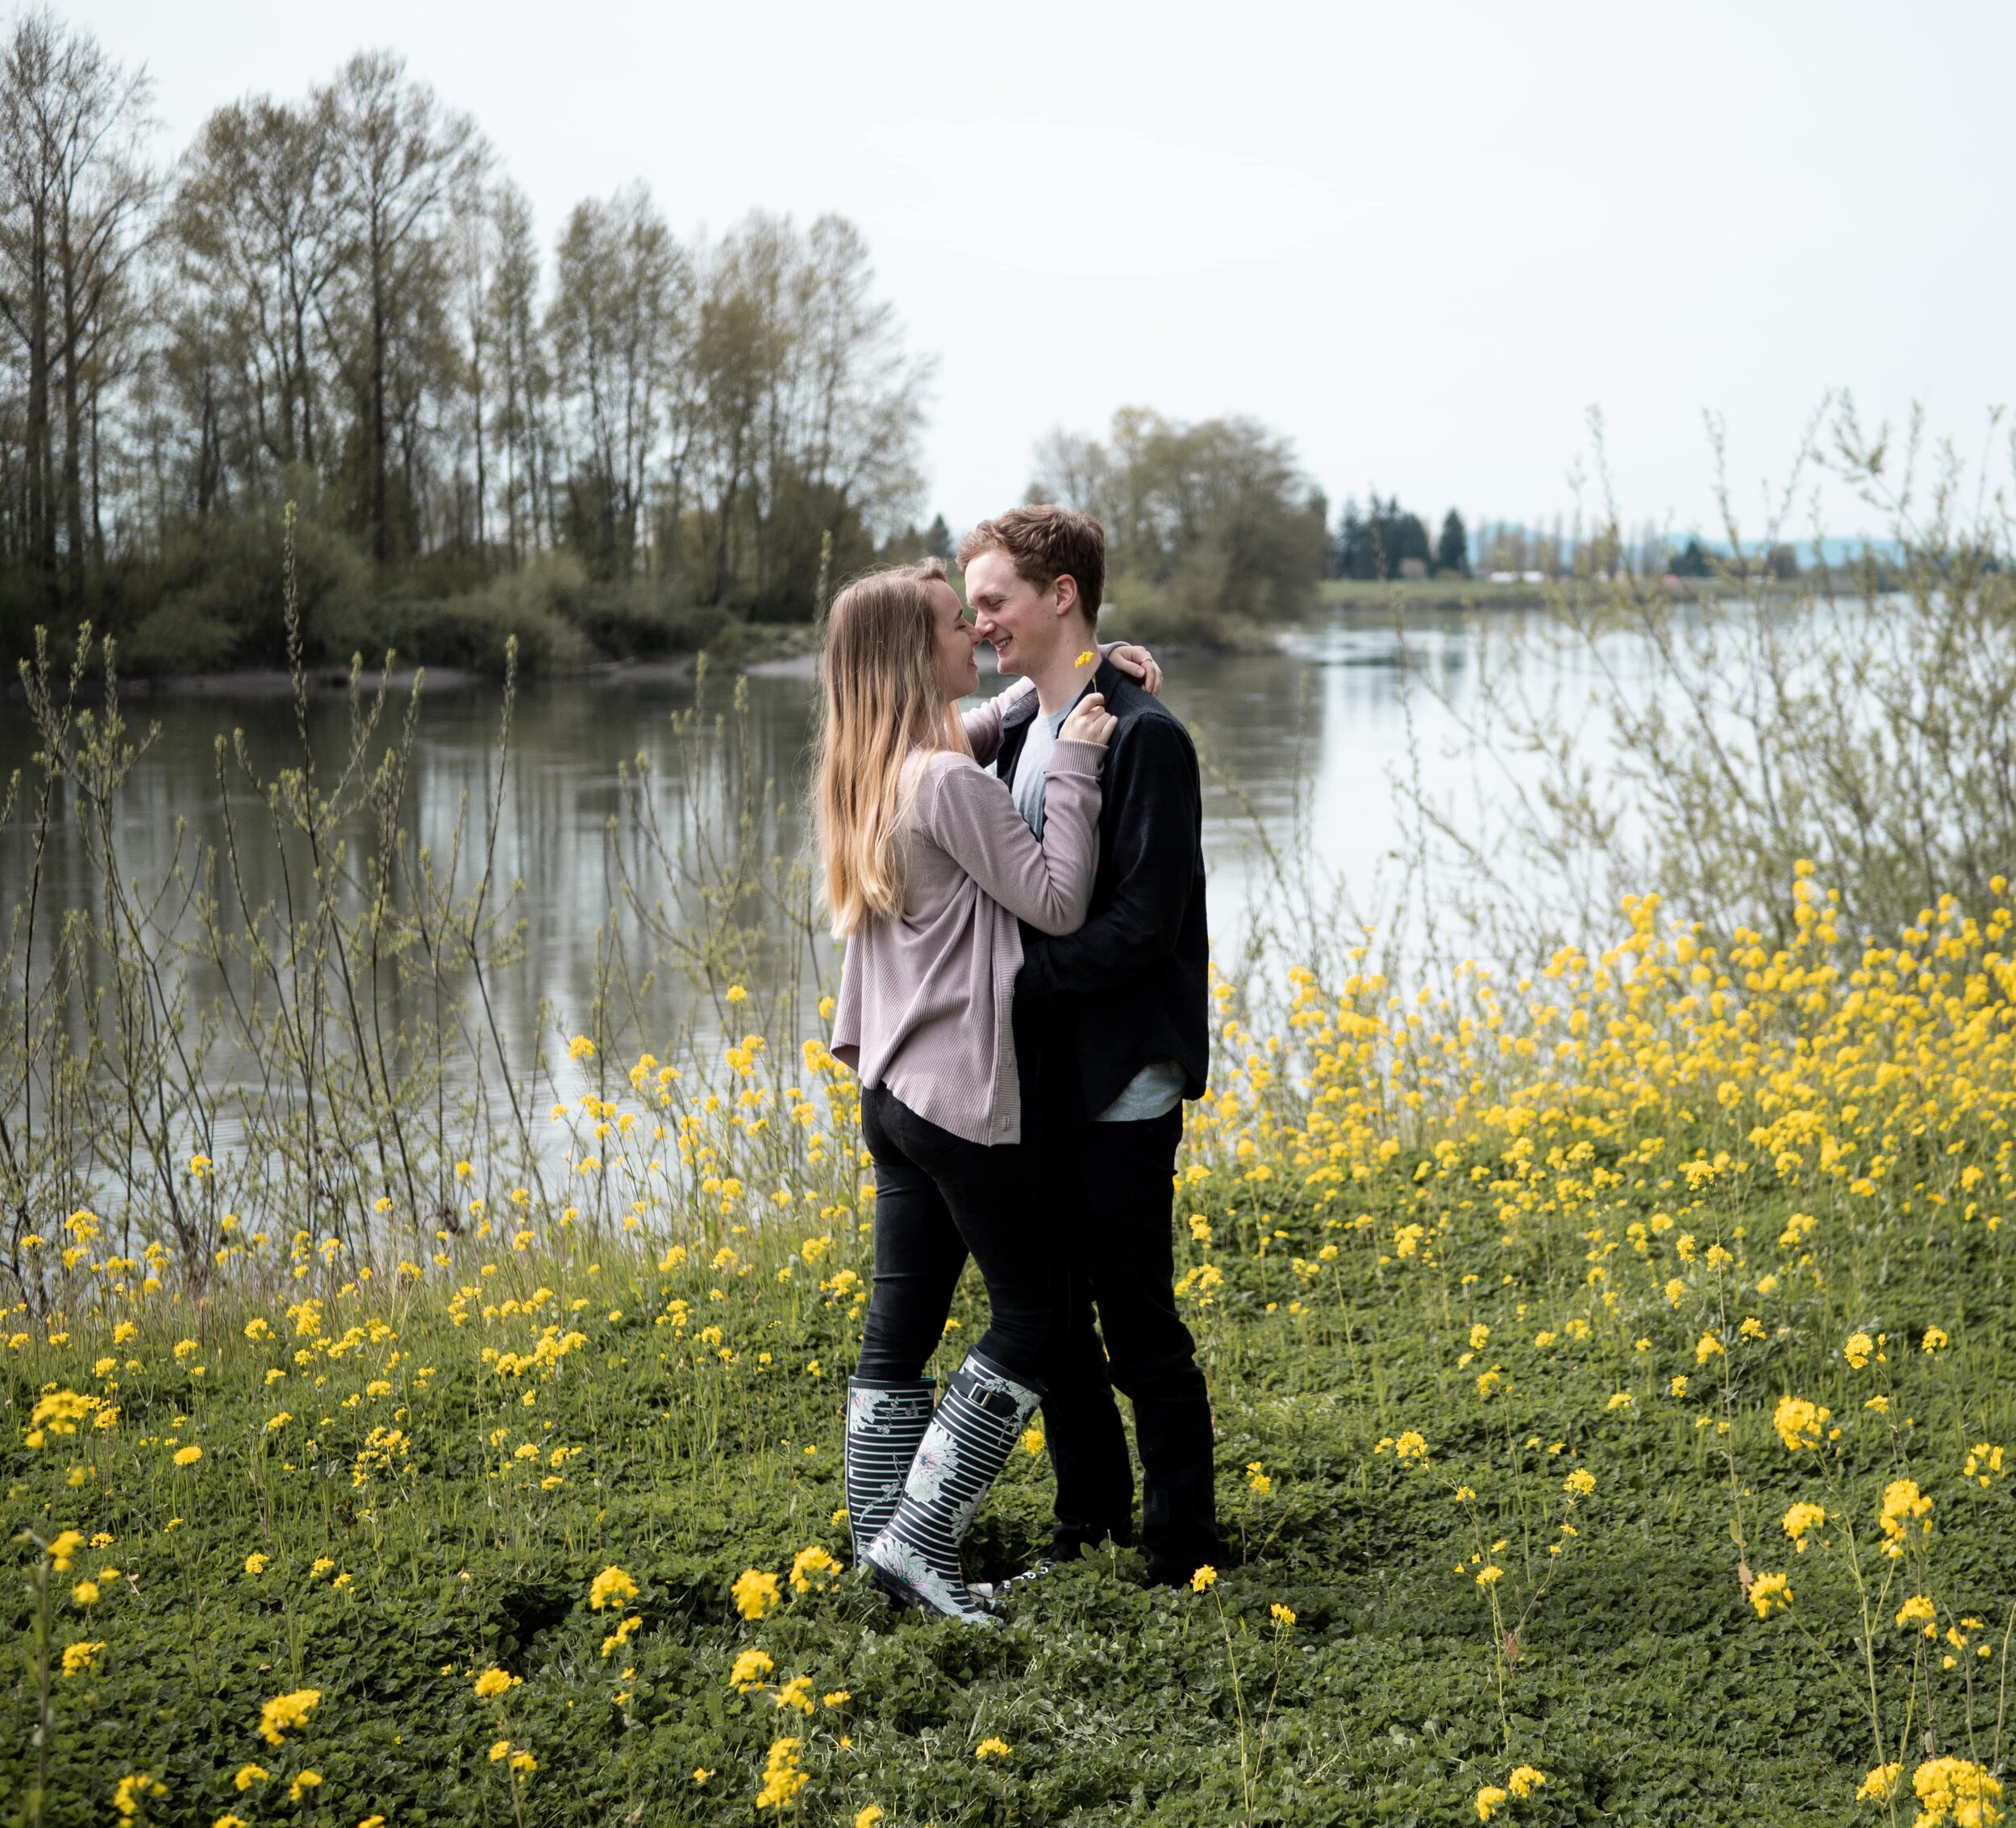
We prefer a much more natural style of posing. We like to set up our shots in a more candid way so that it feels like the photo was taken during an intimate moment rather than a staged one.
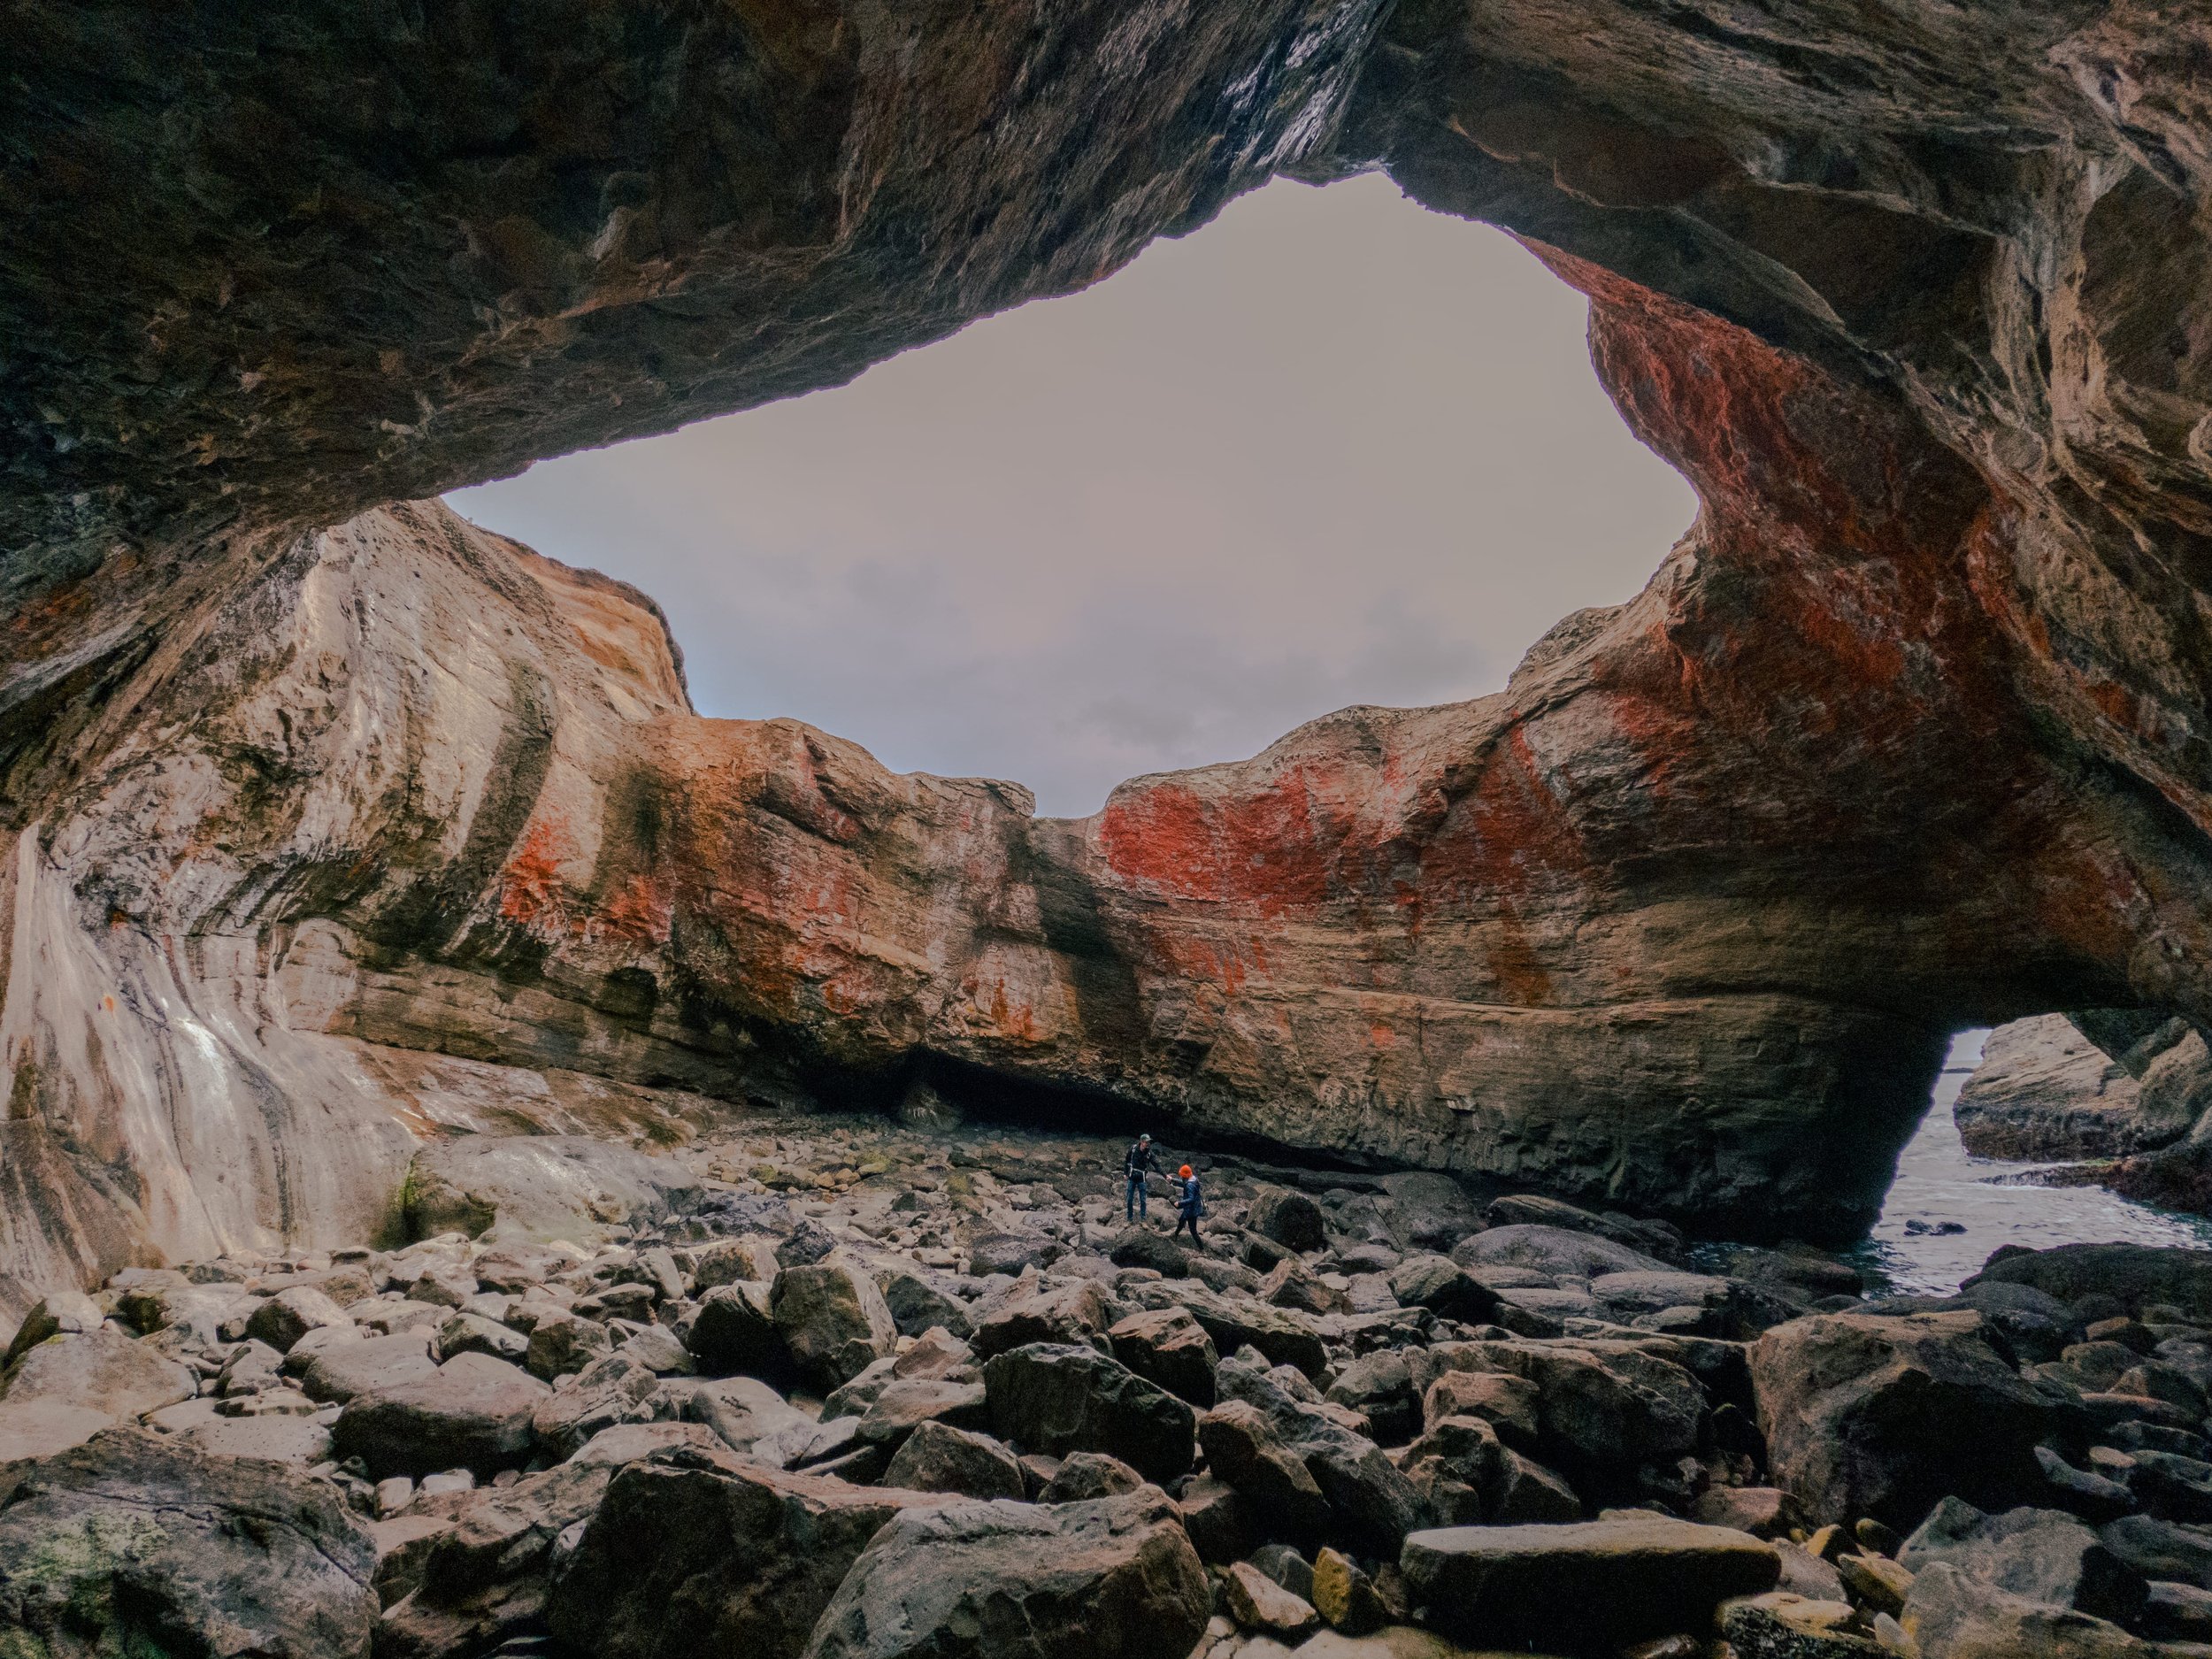
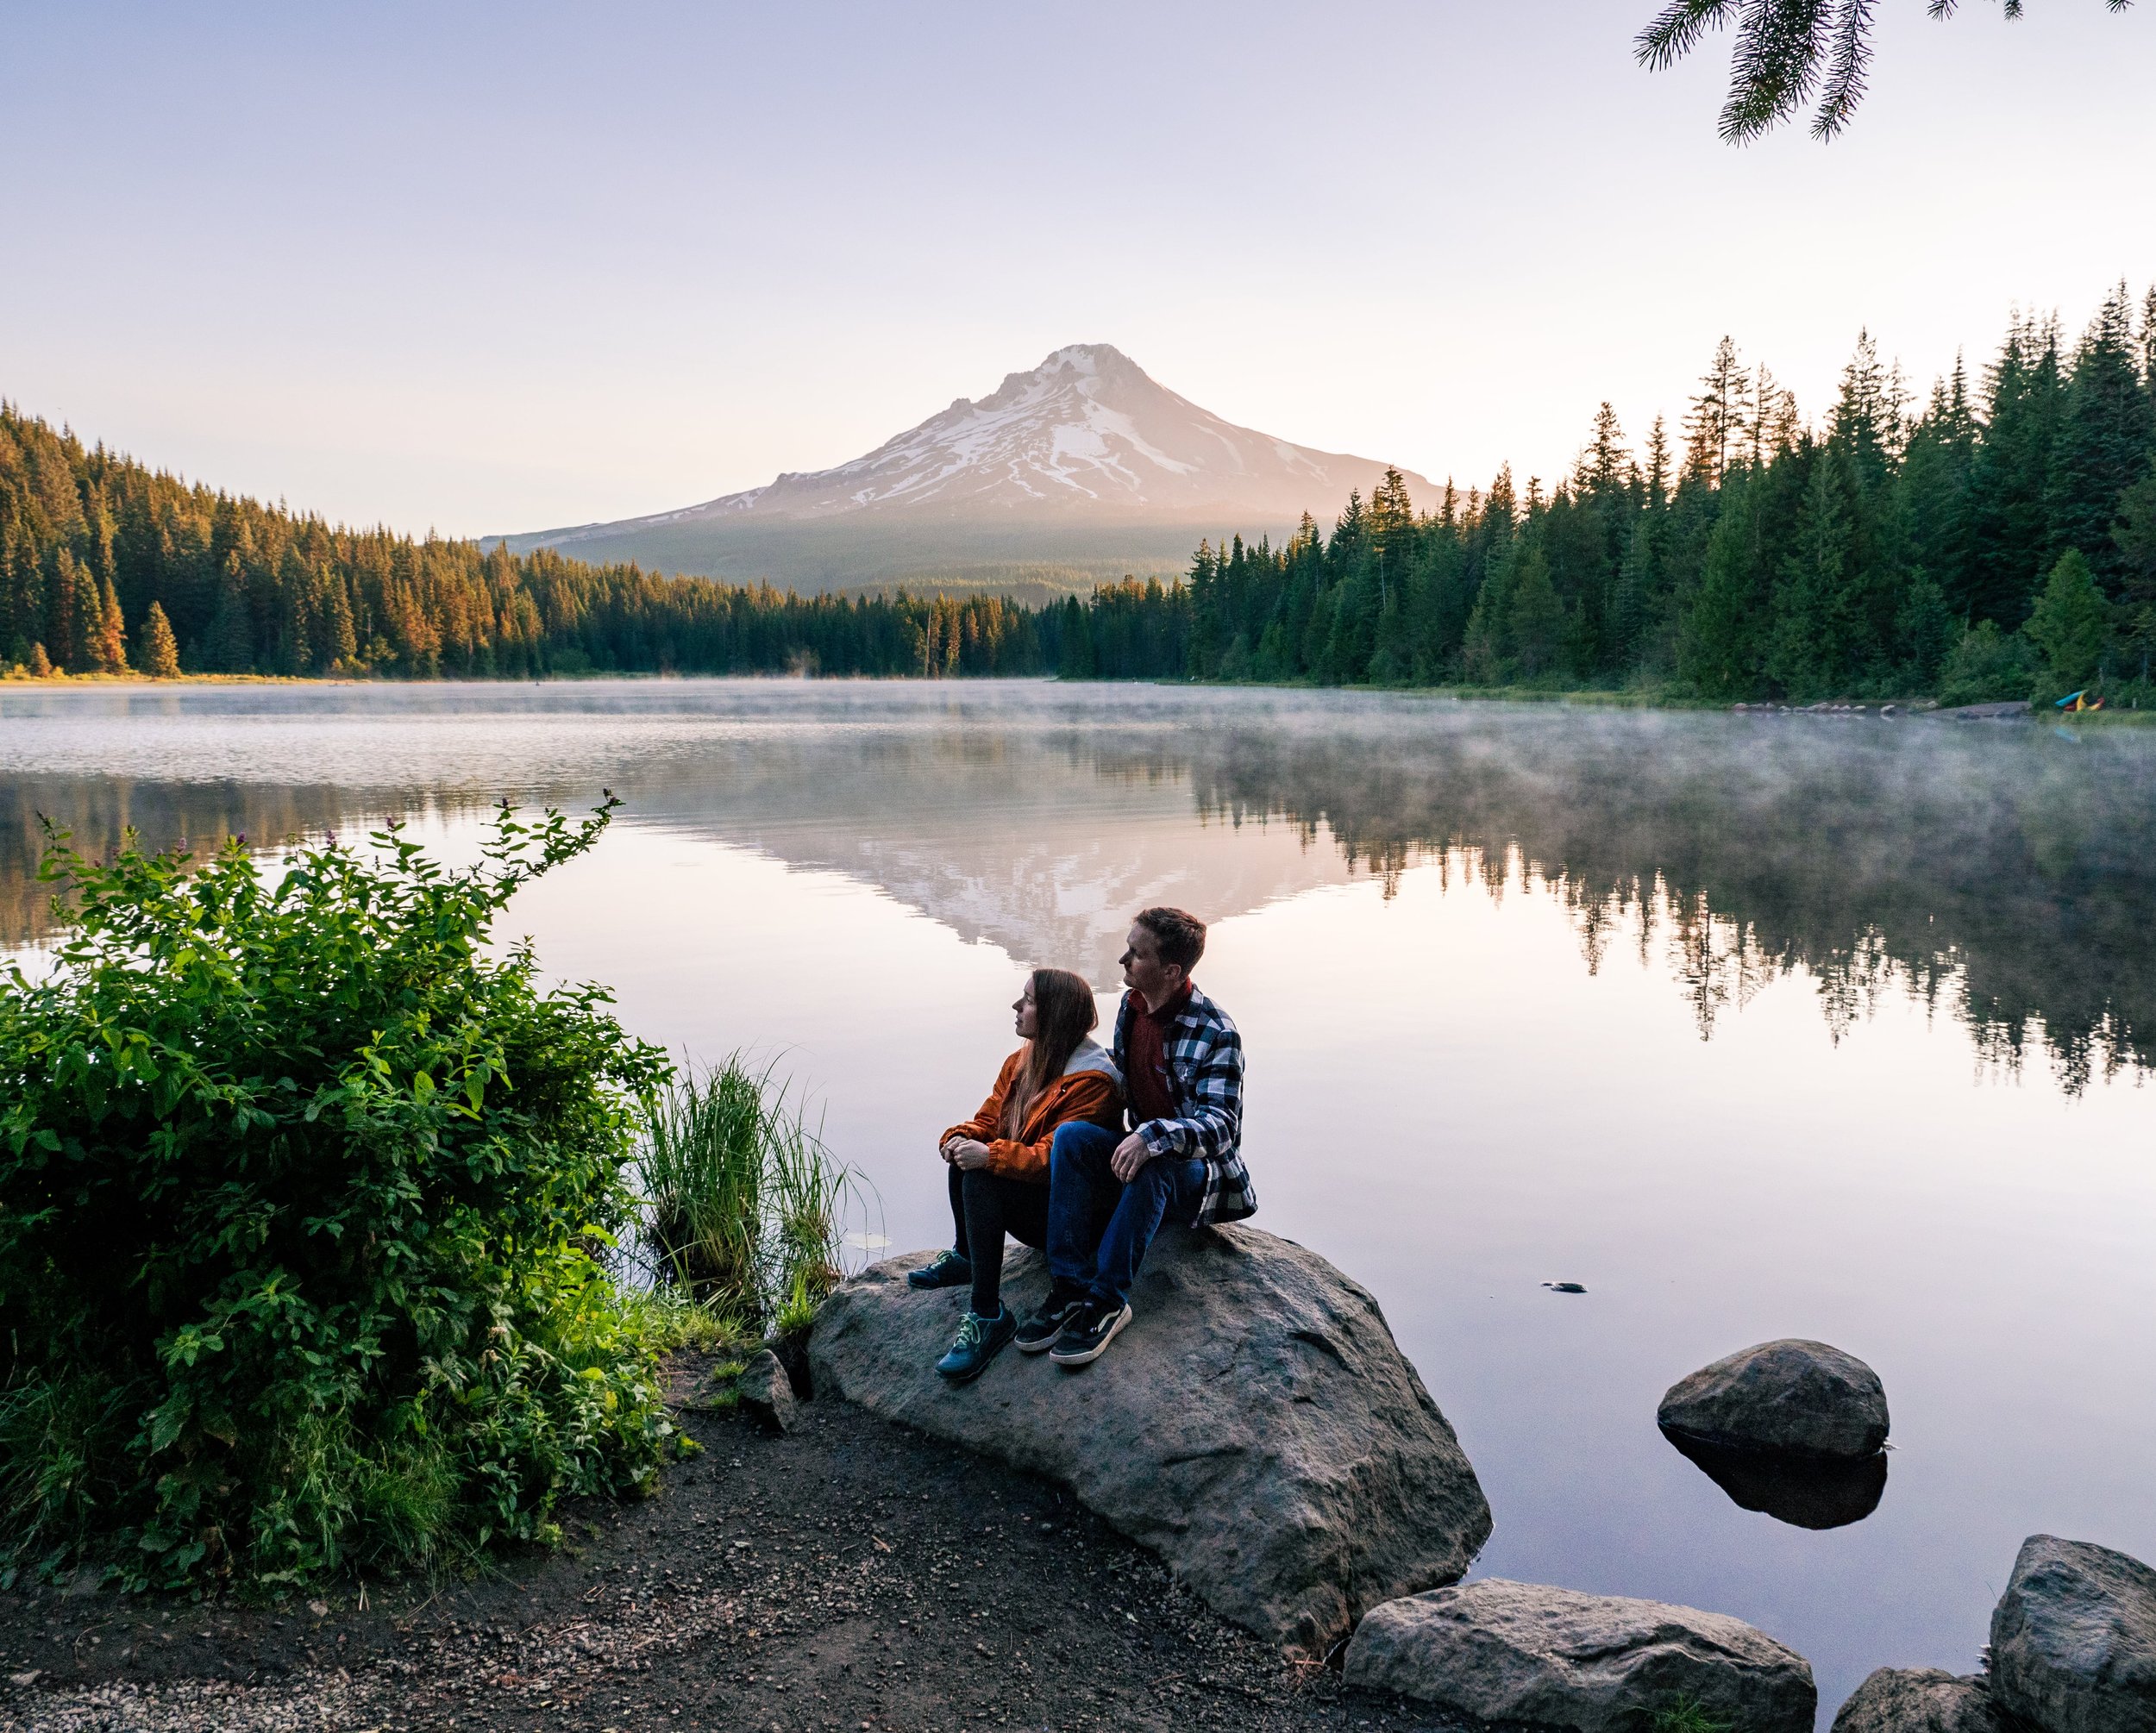
Another tip that’ll make things look natural and unique is to use poses where the subjects interact with the terrain and the natural world around them. If you feel like a lot of your poses look fake, this is a great way to add in some realism. It’s also great if you need to mix up your posing with something a little different.
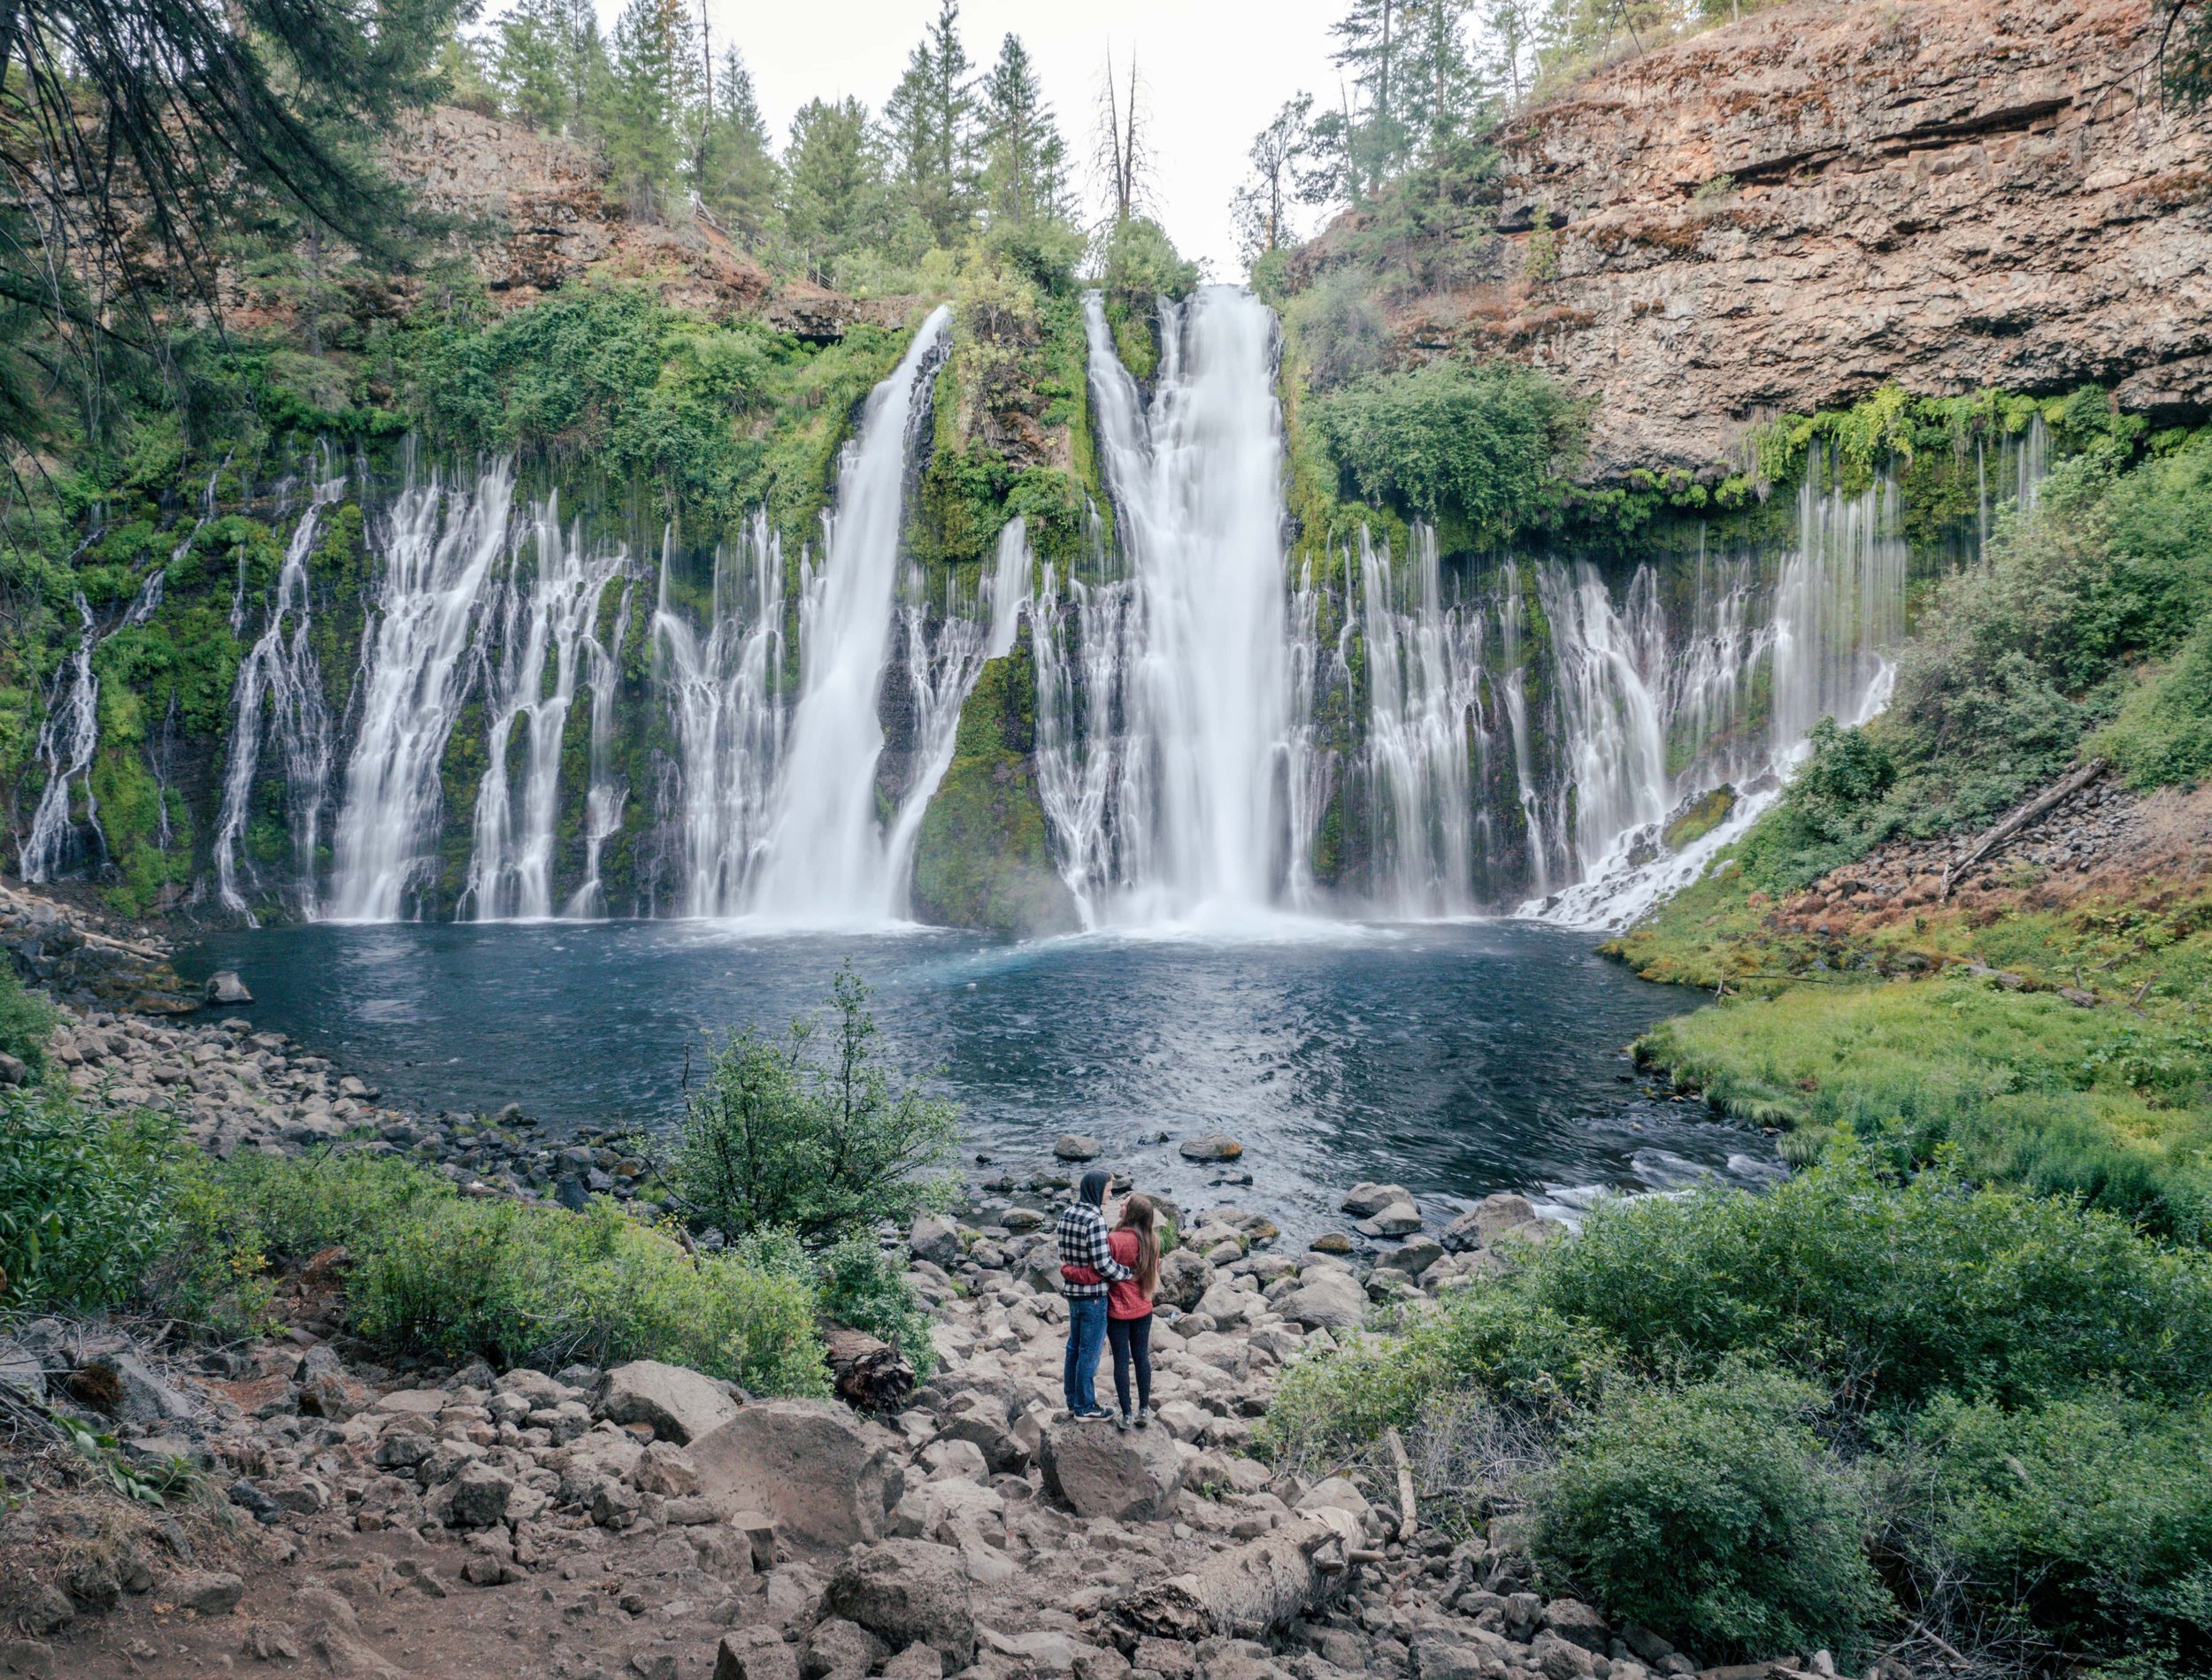
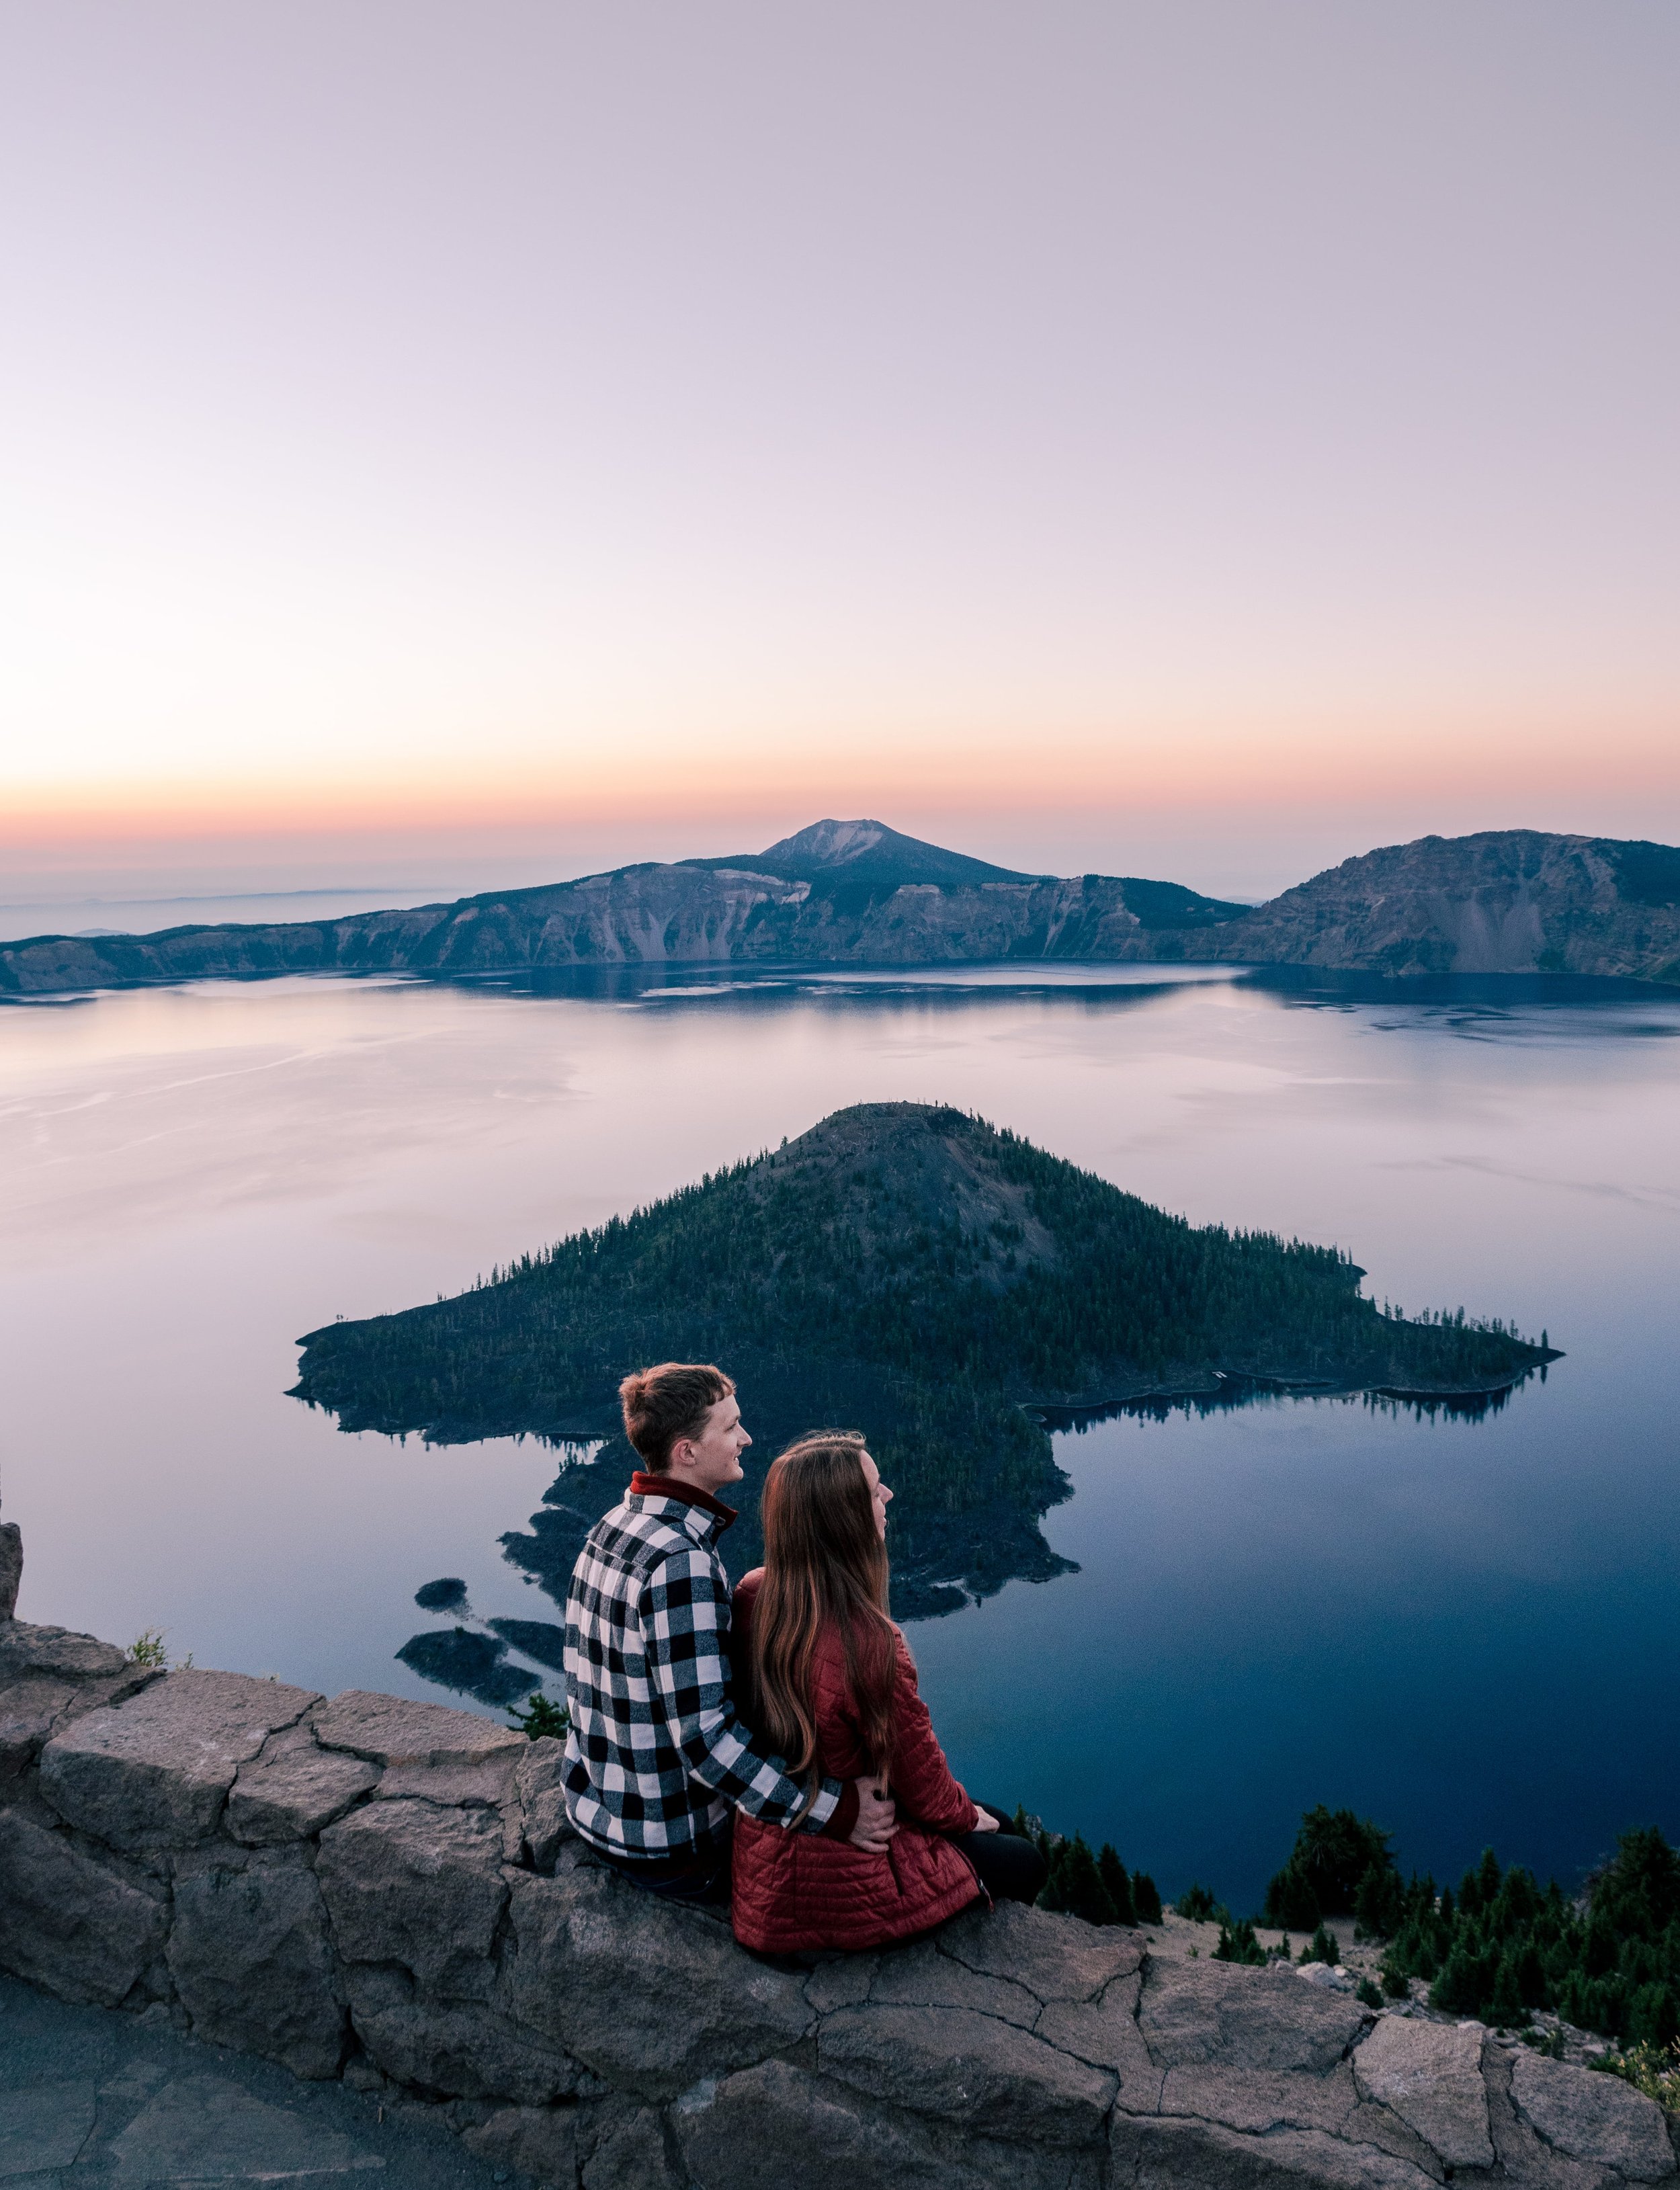
If you’re setting up a shot with a distinct landscape, try to place yourselves in a spot where you’ll stand out against it and add to the frame rather than in a busy area of the frame where you might be less noticeable.
Also, remember to take photos in multiple poses! I like to try out 2-5 different poses for our shots so I have some options when looking at them later.
Don’t forget to Have fun with it!
You’re going to get a lot of goofy photos and a lot of blinking. It’s okay if you don’t get it right the first time, taking photos is supposed to be fun and help you remember the good times during your adventures together! Experiment with your shots and figure out what you like!
Related Posts:
This is a great place to start with your couples photography, however there is so much more to learn! Make sure you further educate yourself and get your own hands-on experience with your camera to really see results. If there are any tips you’d like me to include, let me know in the comment section below! I can’t wait to hear from you!
Make sure you’re following Zack and me on social media so you can keep up with when we post new things, you’ll get exclusive content, and see what we’re up to on our current adventures! Hopefully we’ll give you some good ideas for yours! Our social links are all below!
Stay safe and explore responsibly,
Happy Adventuring!
Pin for Later!


Hello I’m Caryn!
I’m a Pacific Northwest based adventurer and storyteller. I take a lot of photos, Zack takes a lot of videos, and together we try to bring our fun adventures to life to inspire you to go outside and have meaningful, unique outdoor adventures for yourself!