
Easy Tips to Take Better Sunset Photos
Shooting at sunset used to be the bane of my existence. The lighting is so strange to a new photographer, it seems harsh but also not harsh all at the same time. It’s like a whole new world compared to shooting during the day. I eventually got to the point where I so desperately wanted to get all of the incredible shots that golden hour promised so I just started shooting until I got better. Now I have all these tips to share with you so that you can hopefully get the results you want a little faster than I did and take better sunset photos.
Disclaimers: This article contains affiliate links that help support me and allow me to continue to make content for you! If you click on one and buy something, I may get a small commission at no extra cost to you. Please use my links to help support me so that I can start bringing bigger and better projects your way!
All images and videos on this website are owned by Caryn Wells and Zack Blake unless otherwise stated.
Related Posts:


Change your settings or your gear
Use a wide-angle lens for great wide landscape shots. I typically prefer anything under 25mm for my wide-angle shots. Just keep in mind that depending on your camera, the number on your lens may be different from the actual focal length due to the type of sensor. Here’s a crop factor calculator that you can use to figure out what yours is if you don’t have a full-frame camera.
(For example on my Lumix camera, my actual focal length is 2x what it says on my lens. So a 50mm would be a 100mm, a 30mm would be a 60mm, and so on.)
You can also change your white balance and compare them to determine which coloration you like best. I typically like ‘shade’ for more golden tones, but I have picked other white balance settings depending on my lighting.
I highly recommend doing your own experimentation with your metering modes in your camera. Take multiple shots while switching between evaluative metering, center-weighted metering, and spot metering modes so that you can start fully understanding what each mode will change based on your lighting.
Try out bracketing. Your camera may already have the option to do this automatically or you may have to do it on your own. However, bracketing is when you take multiple images that are exposed differently and then blend them in post-processing. You may want to use your camera’s HDR setting to achieve something similar, but bracketing will retain much more detail and allow you to handpick the areas you like best rather than the computer making all these decisions for you.
If you’re having problems with overexposed skies in your landscapes, to save some time and some lovely vibrant color in your skies, try putting a Neutral Density Gradient Filter on your lens so that it’s darker on top and lighter on the bottom. This would typically be a good move for mostly landscape photographers. You don’t want your portrait subject to be darker toward the top of the frame and lighter toward the bottom.
Note: If you want truly sharp images, you might find that using filters makes it a lot harder to achieve. That’s why I typically don’t use darkening filters unless I need to. It’s a great tool to use when starting out though.
Stay After the Sun Goes Down
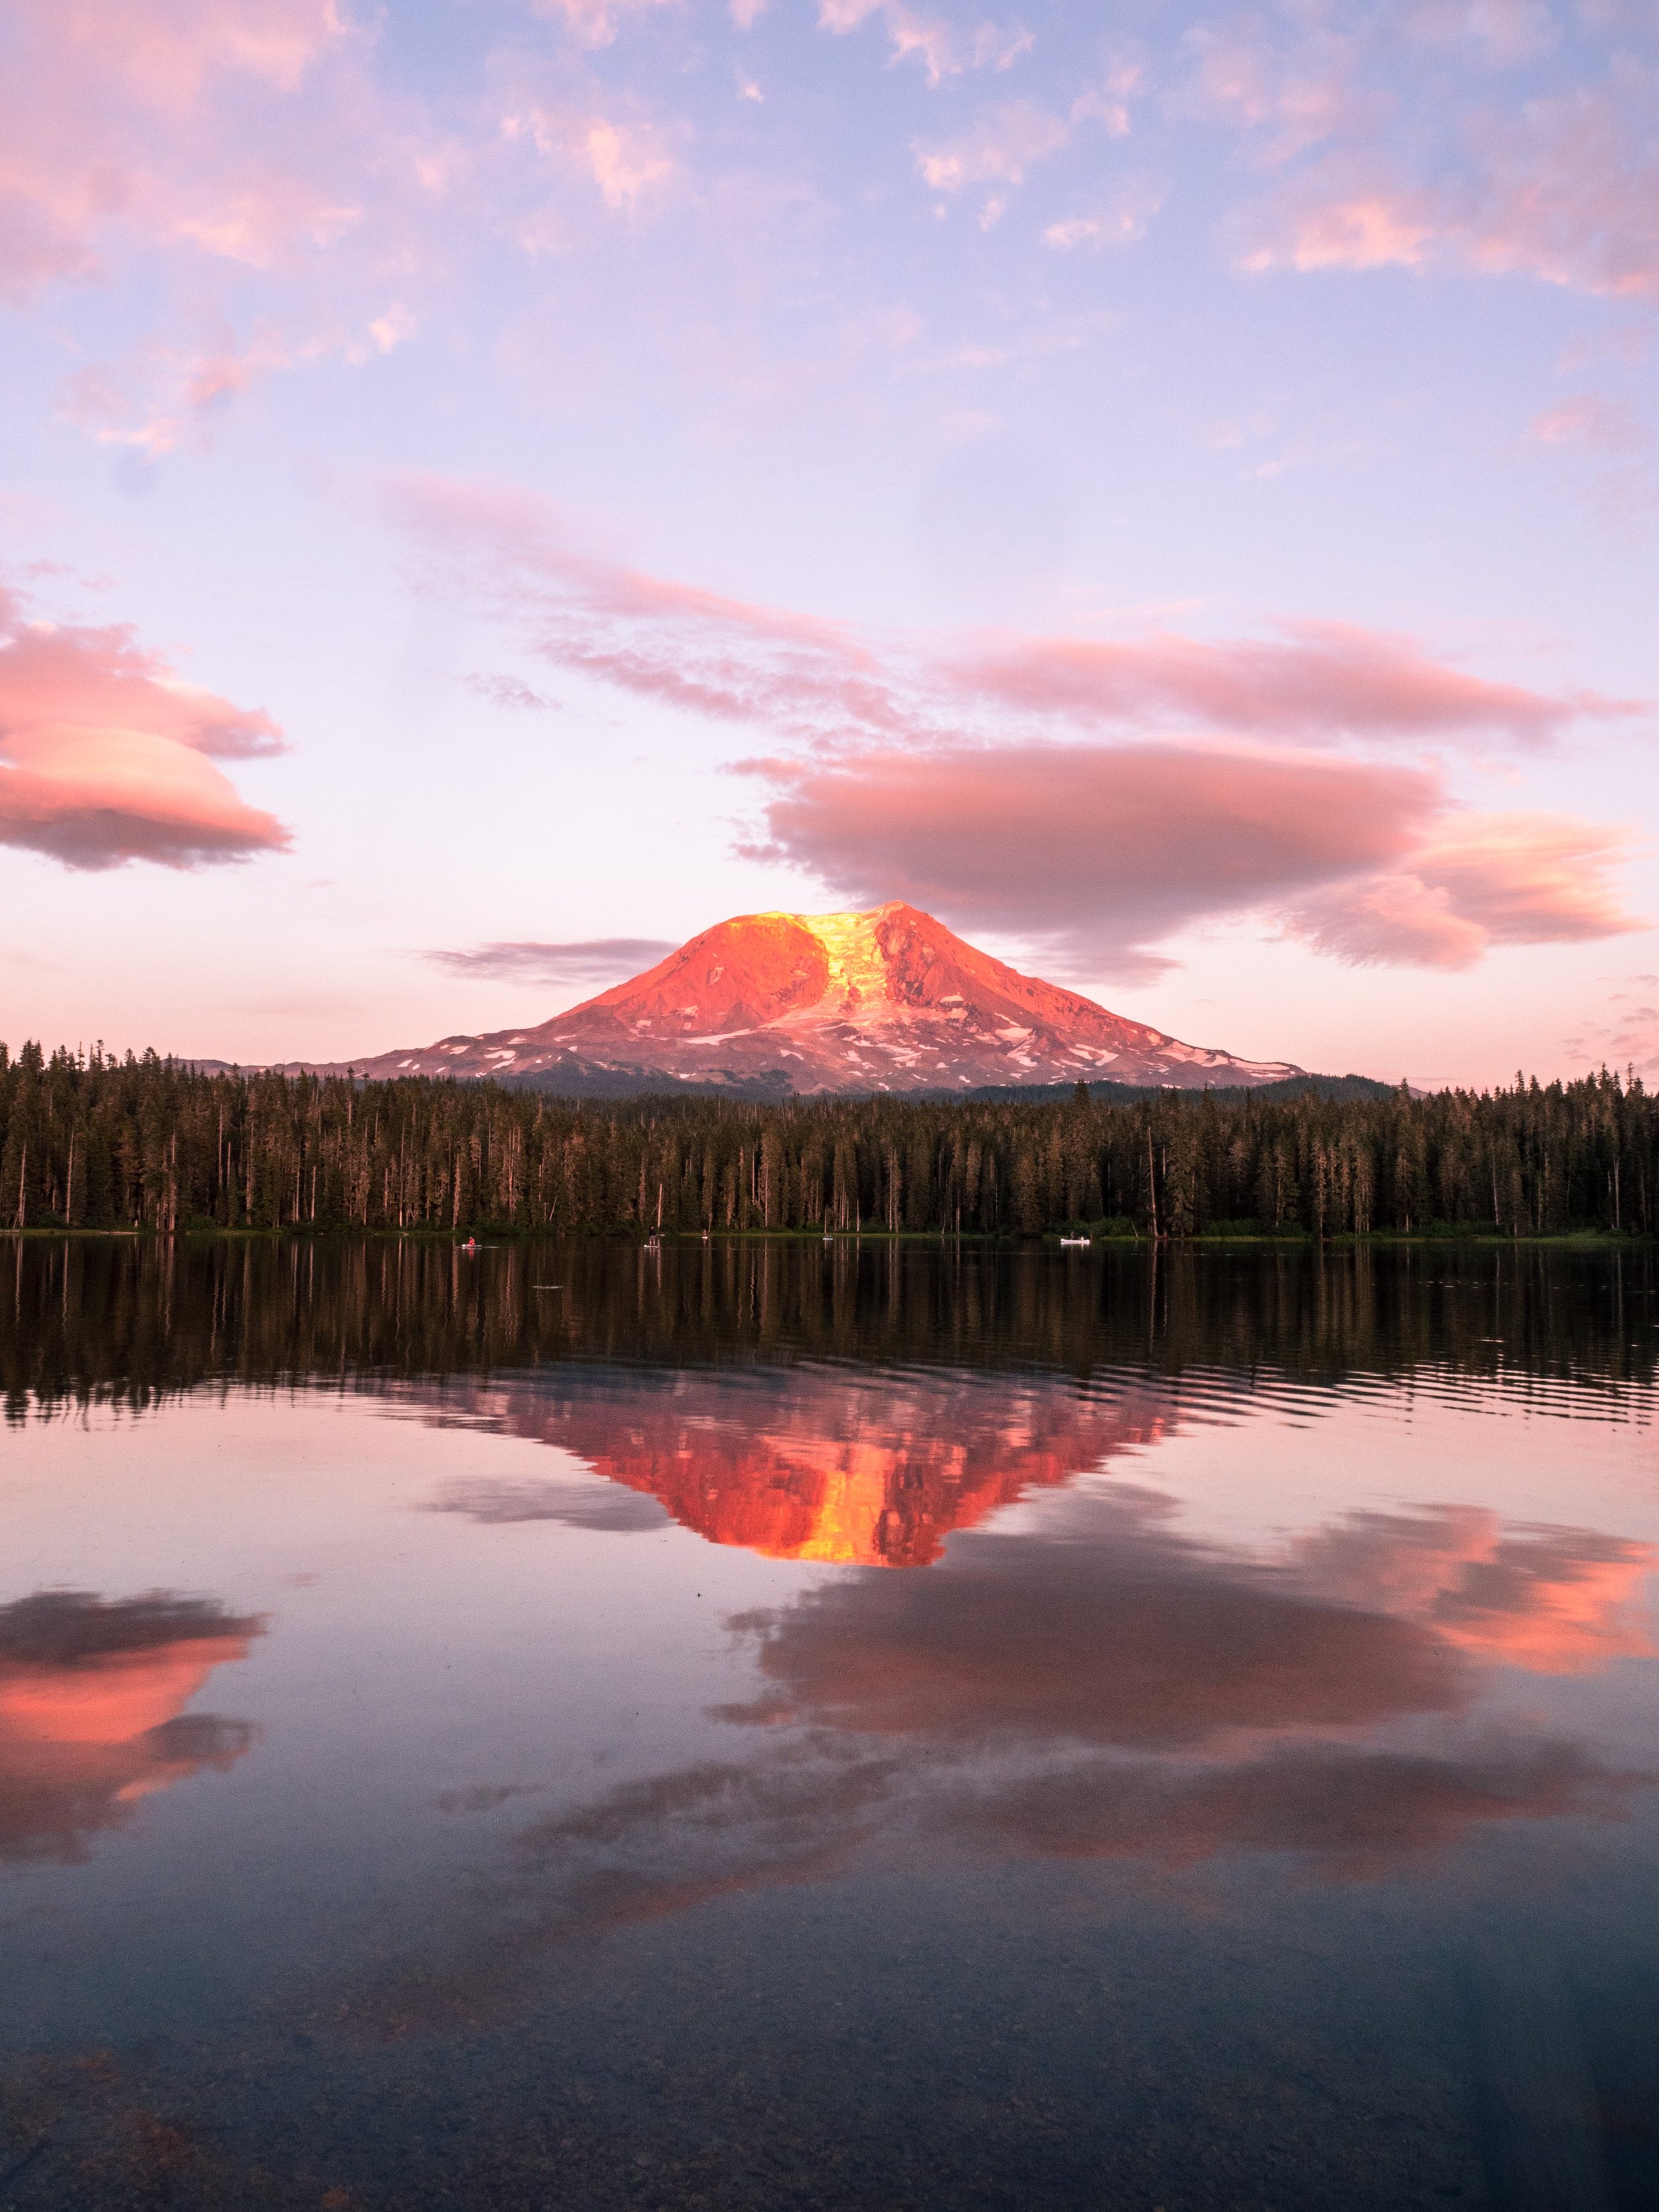
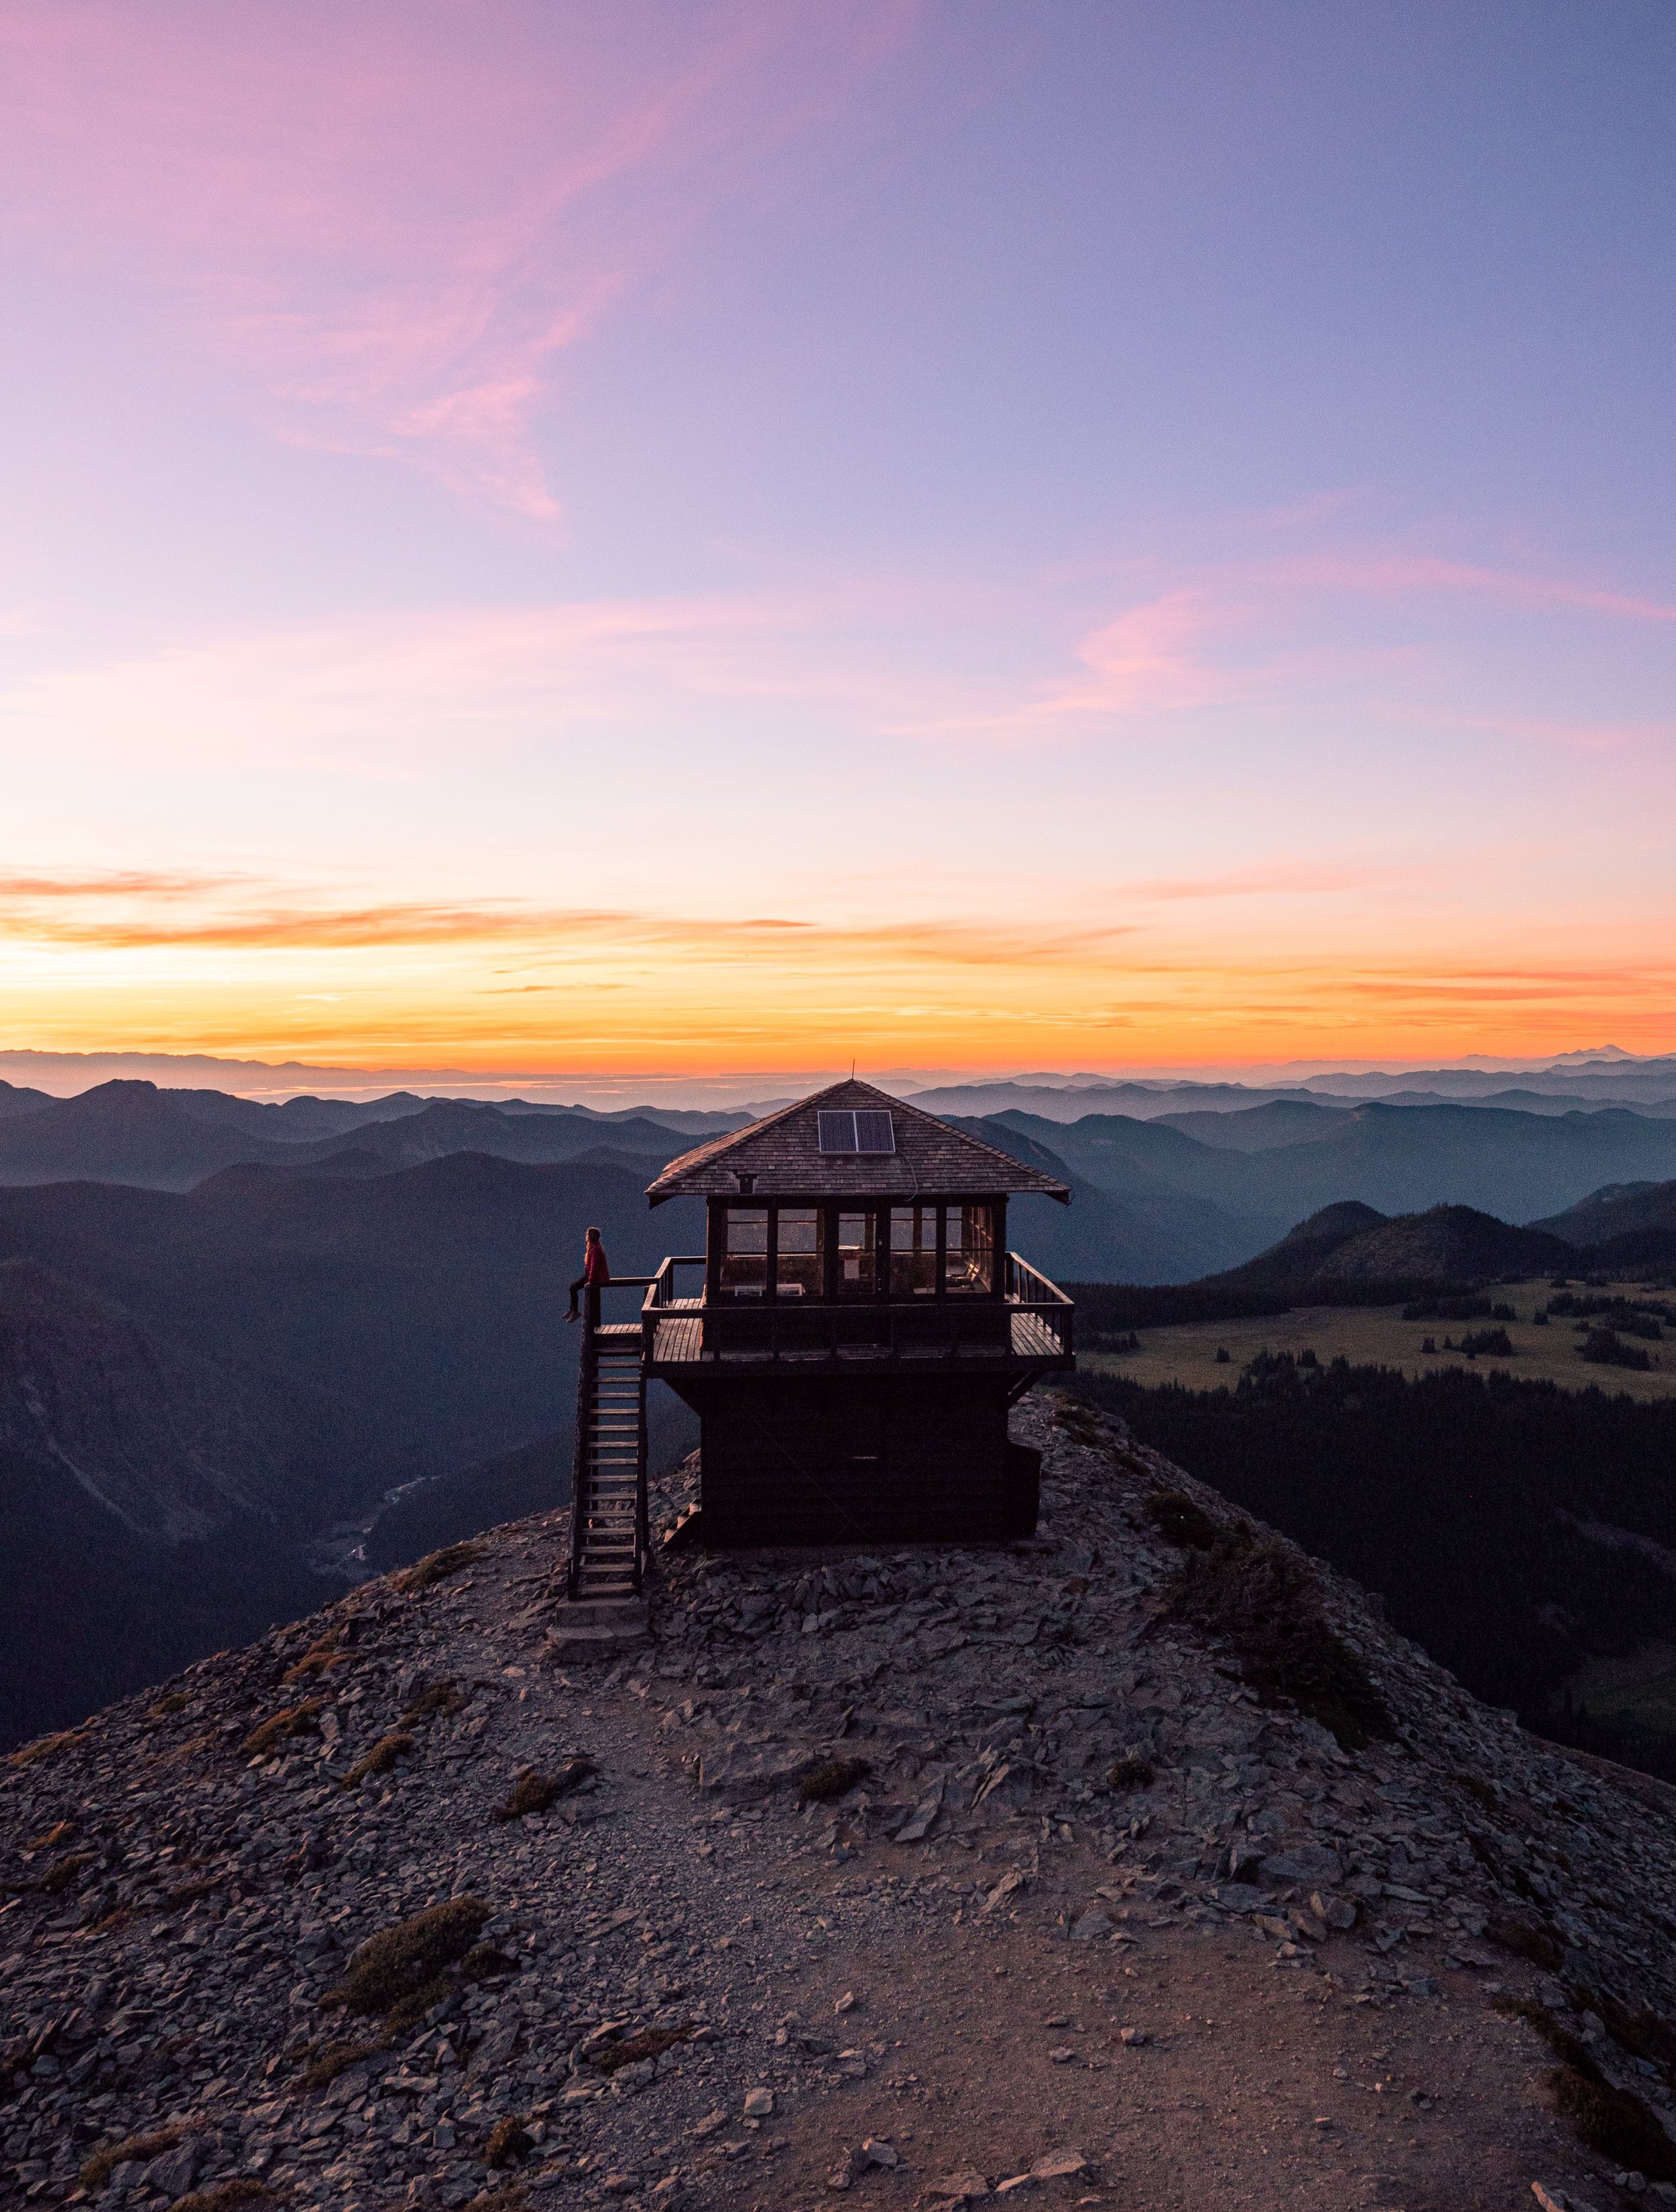
This is a really easy tip. The sky lights up with more pinks, reds, and purples after the sun has already set so you can get some amazing shots just by staying the extra 20 minutes. Golden hour is incredible, but so is the hour after that.
If you stay extra long, you’ll eventually see blue hour. Blue hour photography is a lot like low light photography so be prepared with a tripod or a lens with a wide aperture to let as much light in as possible.

Get There Early
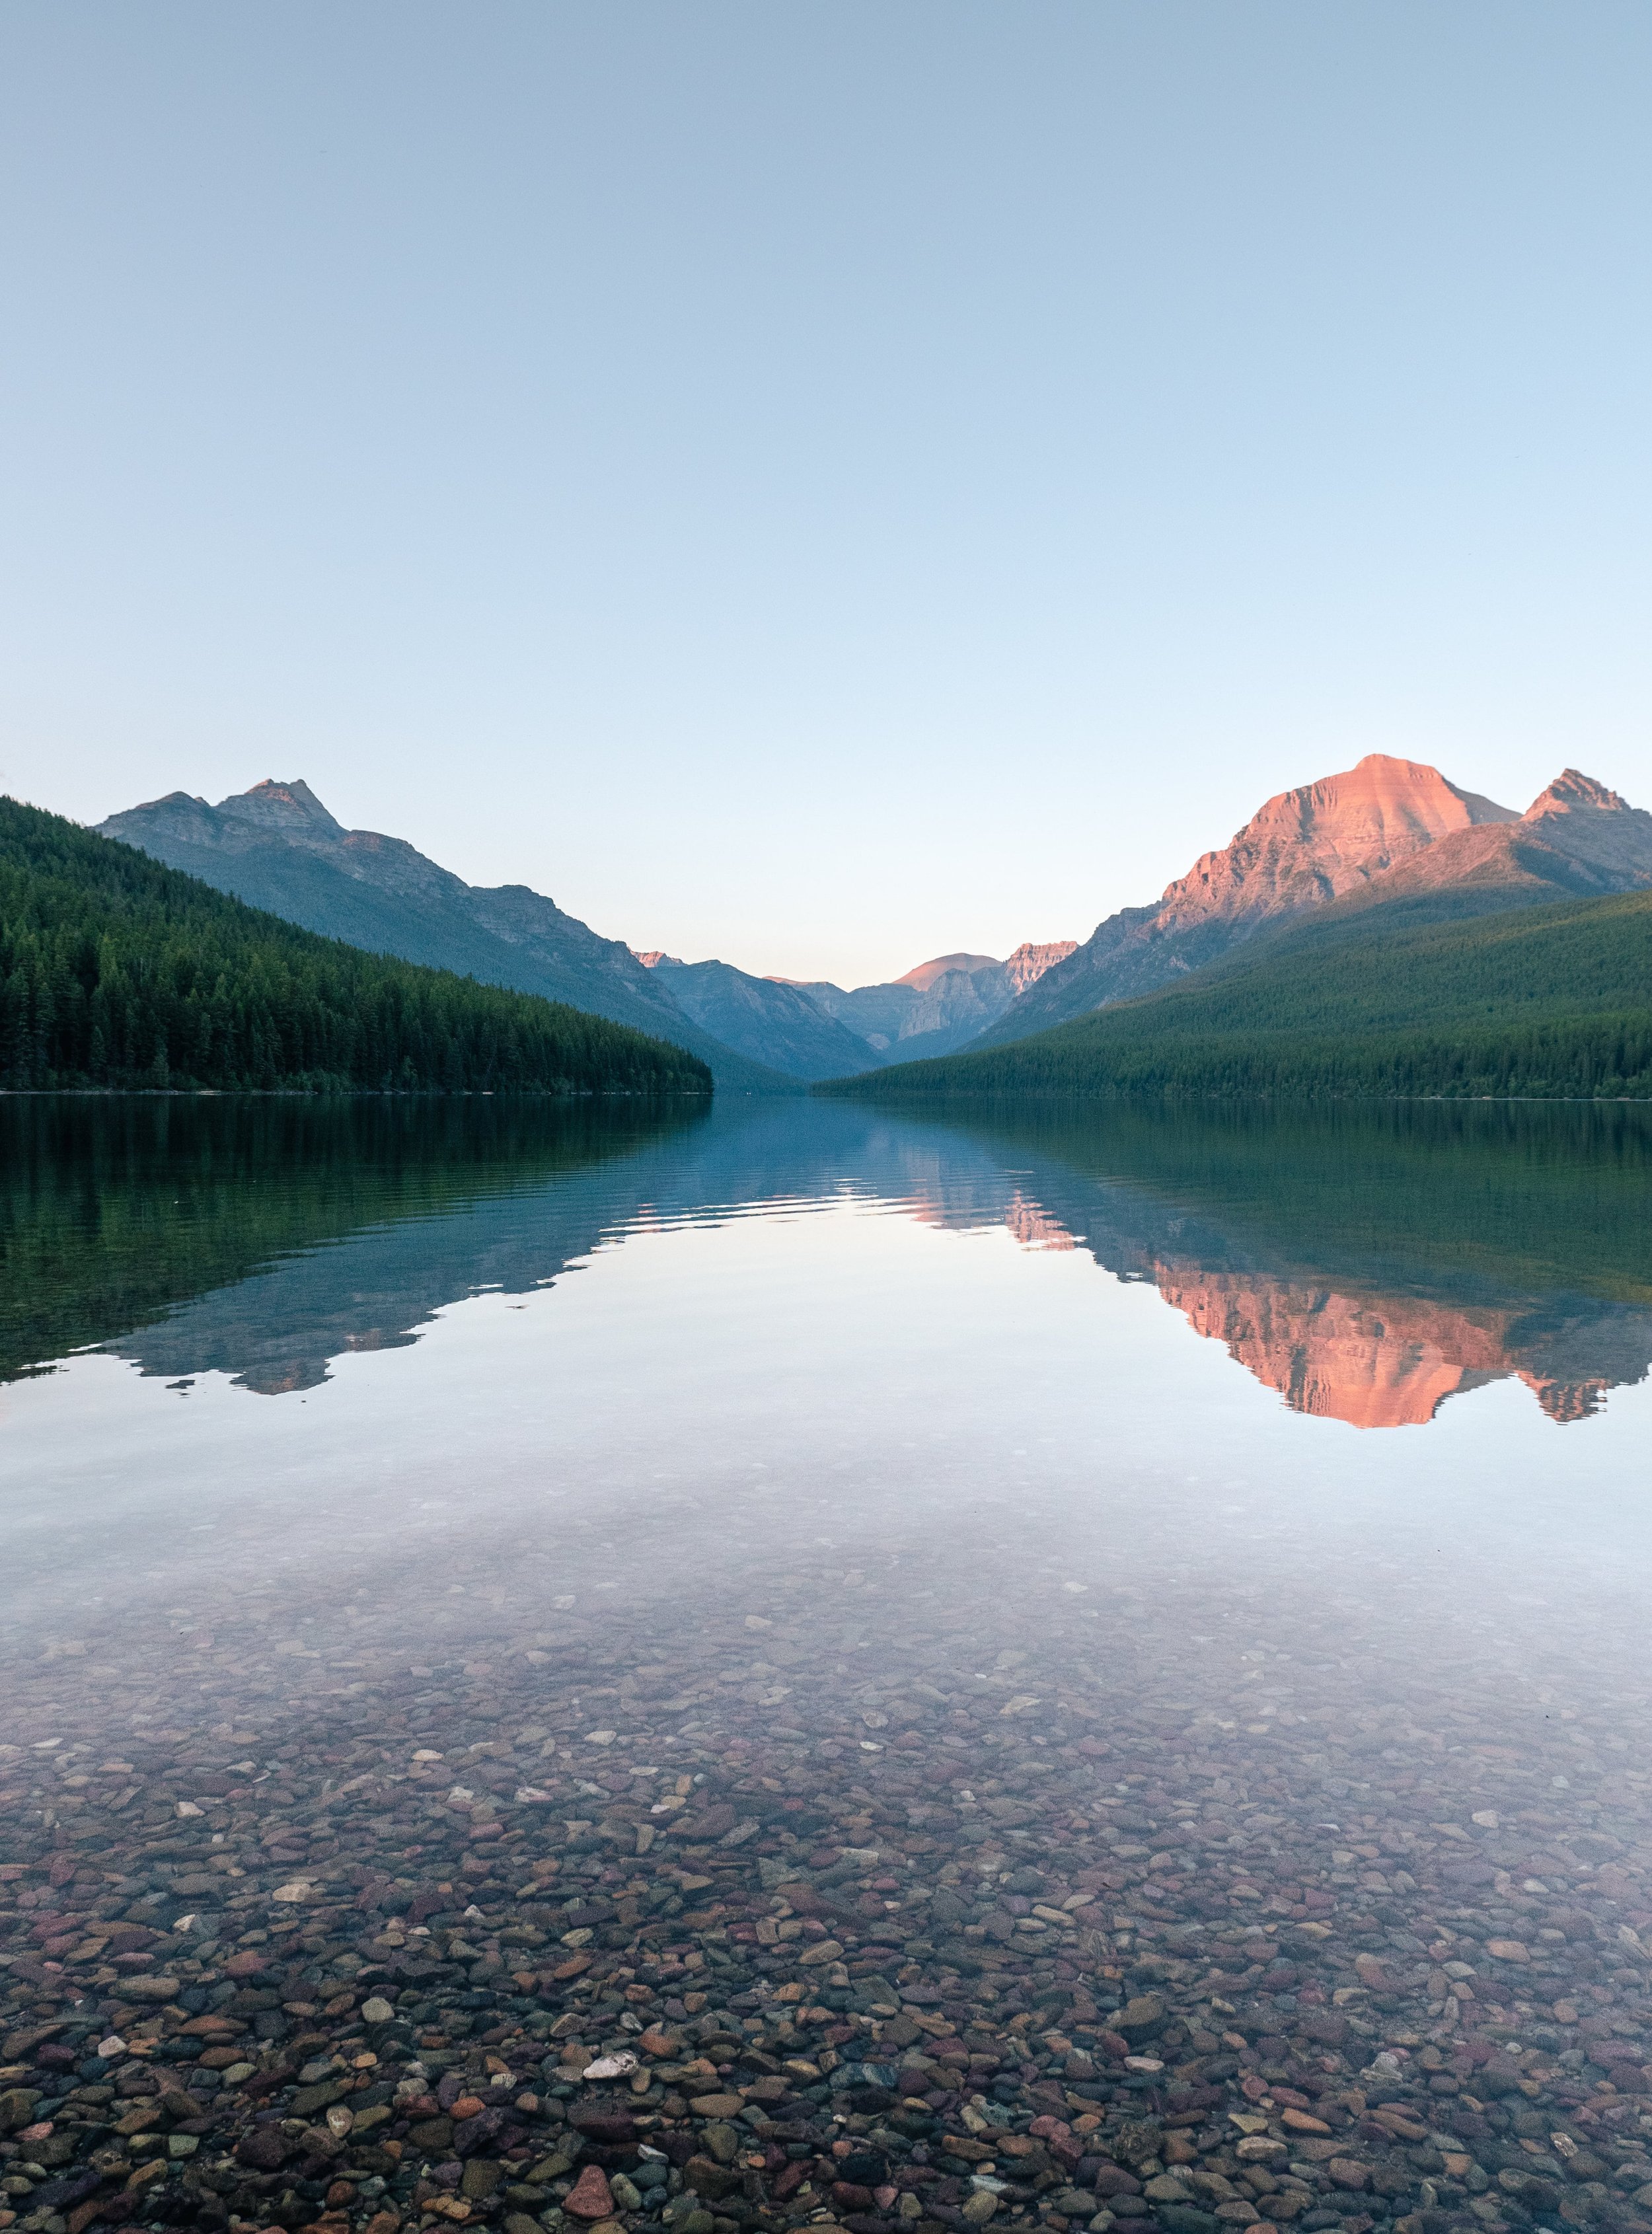
Most of the time I plan ahead for my shot and pick places with leading lines in the foreground, a jagged horizon, mountains, or beautiful clouds for a subject. You don’t have to have these things, but they certainly make an image more interesting. So plan to get to your location early. That way you can look around and find what areas you like best. That way you’ll know exactly where you want to go when it’s time for golden hour.
Add Interest
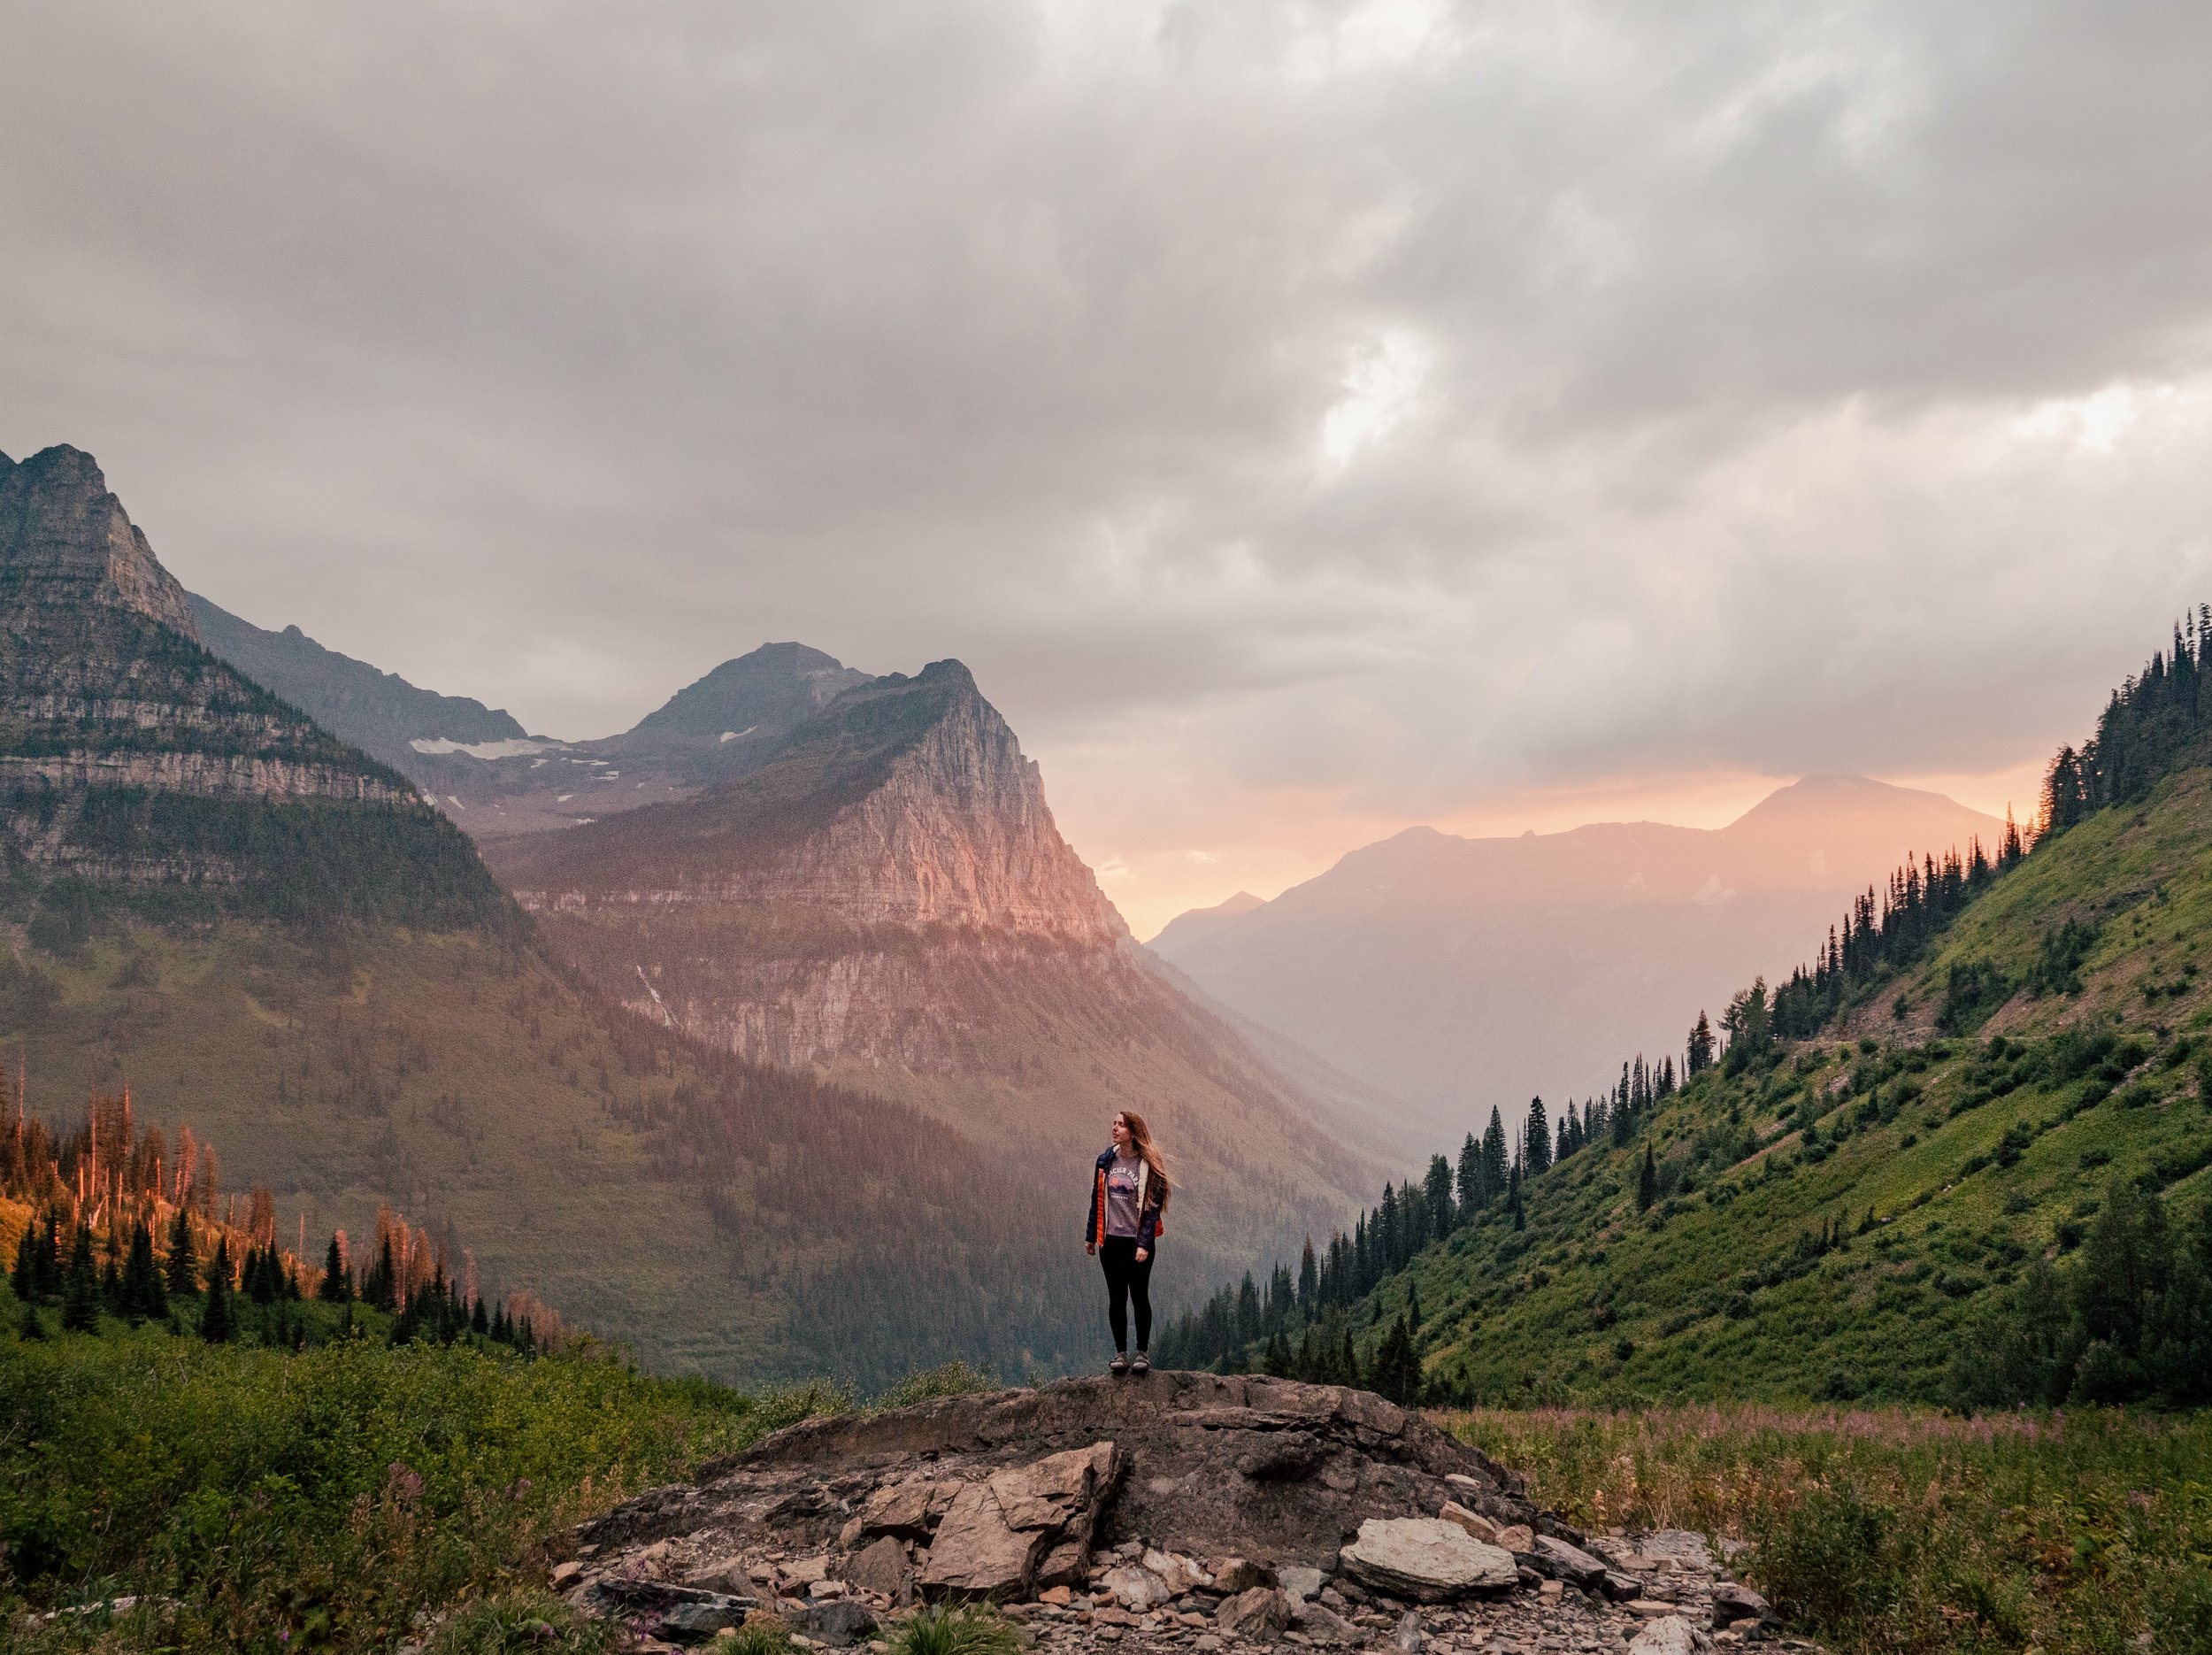
A lot of times I’m not happy with a landscape shot. I almost always like to add interest to my scene. My go-to is a person, this always adds something interesting to a shot. If you don’t want to add a person you could add a leaf, leading lines, lights, or your dog!
You can also look at some inspiration online for the kind of shot you want and put your own spin on the idea. Just make sure you’re not completely copying someone else’s photo.
No Sun
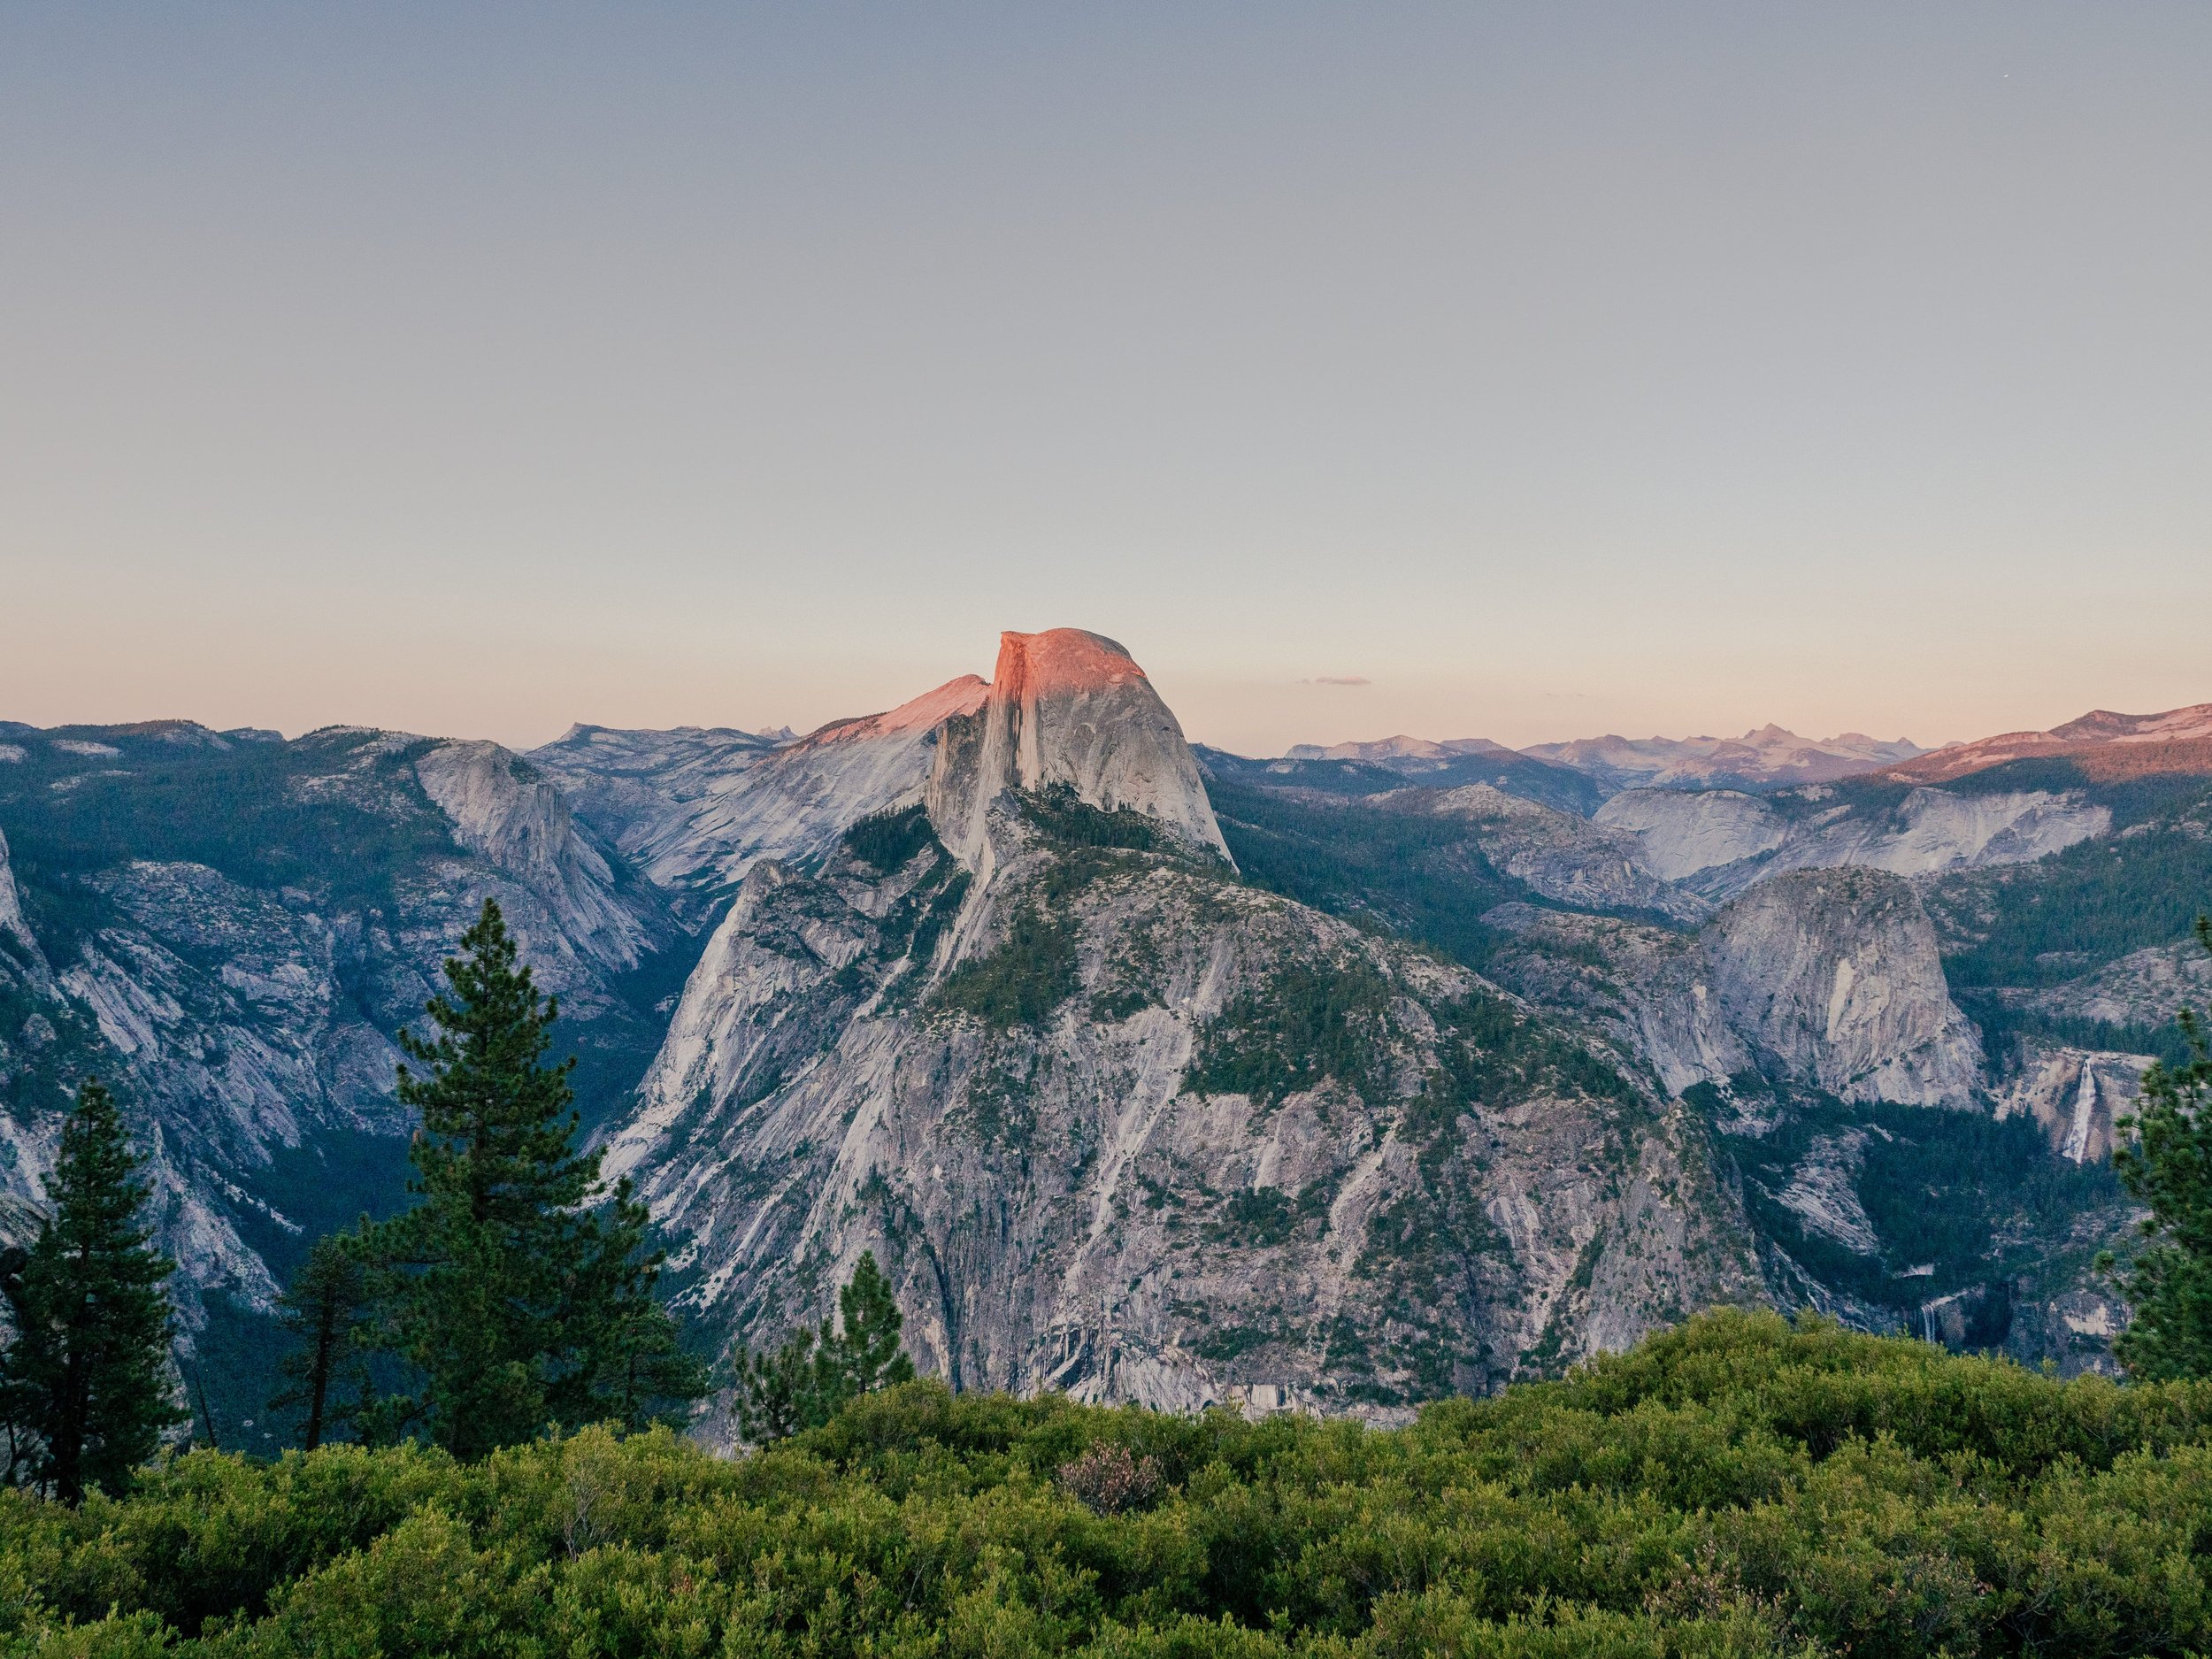
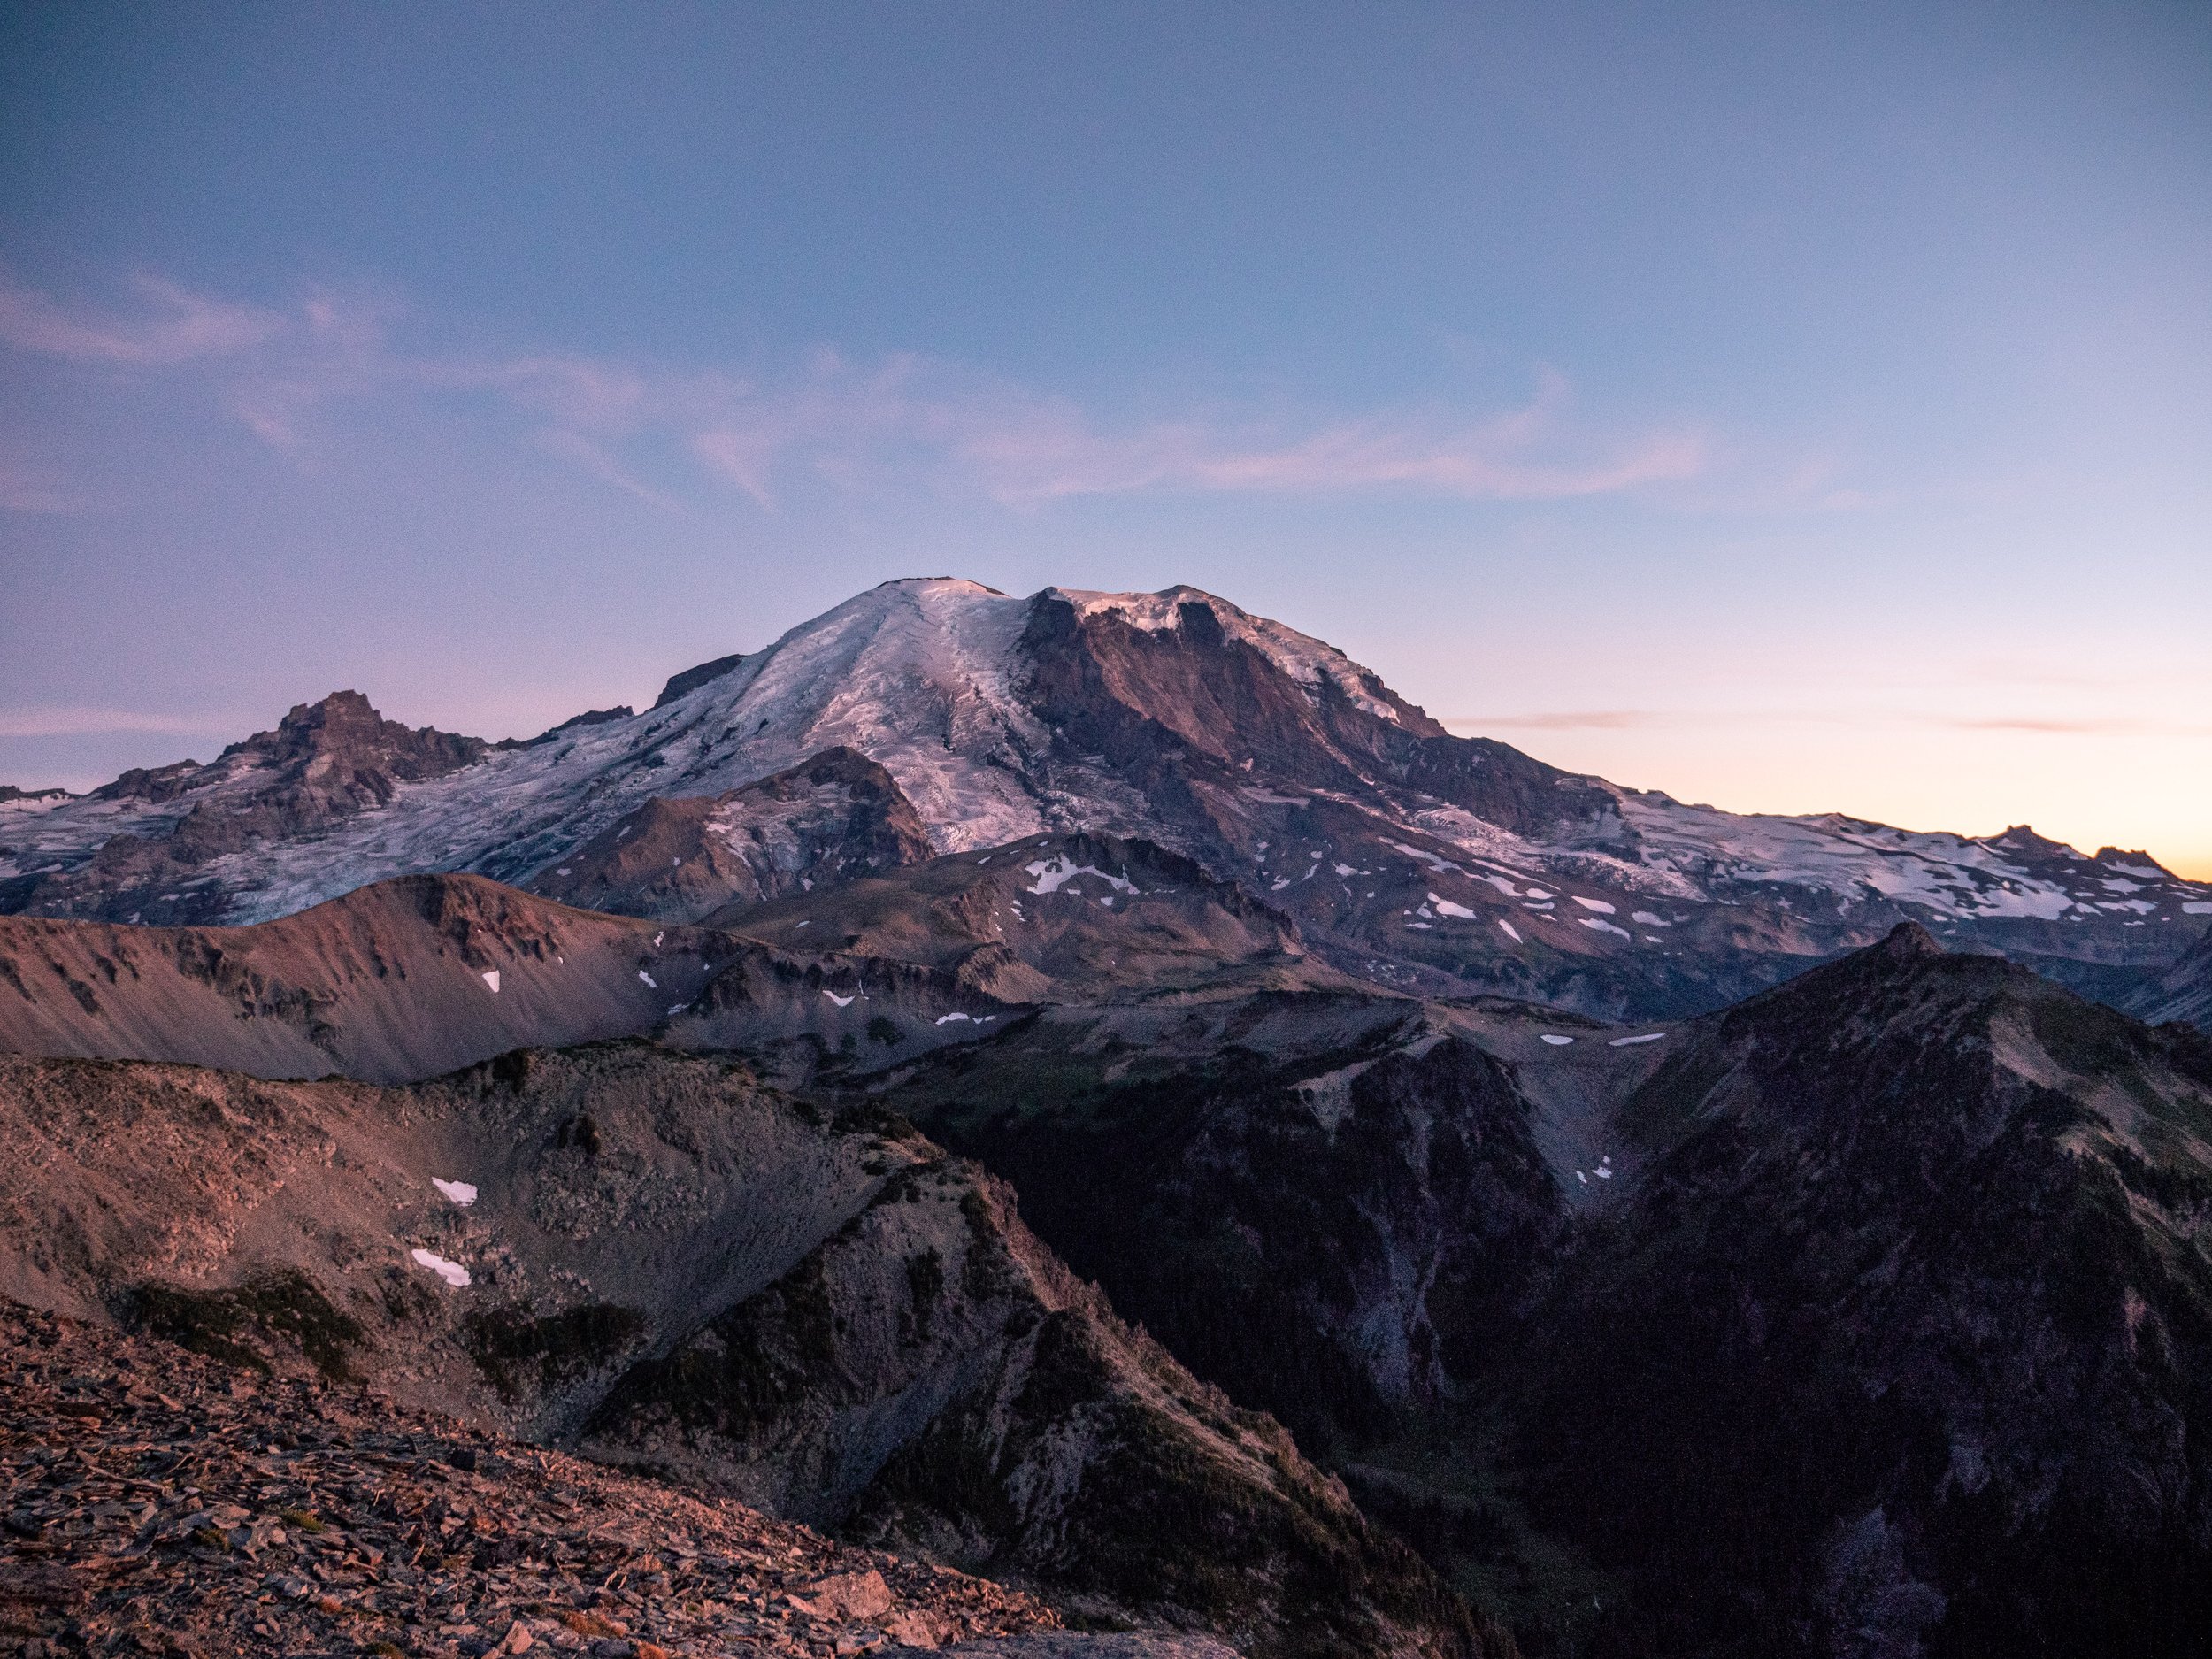
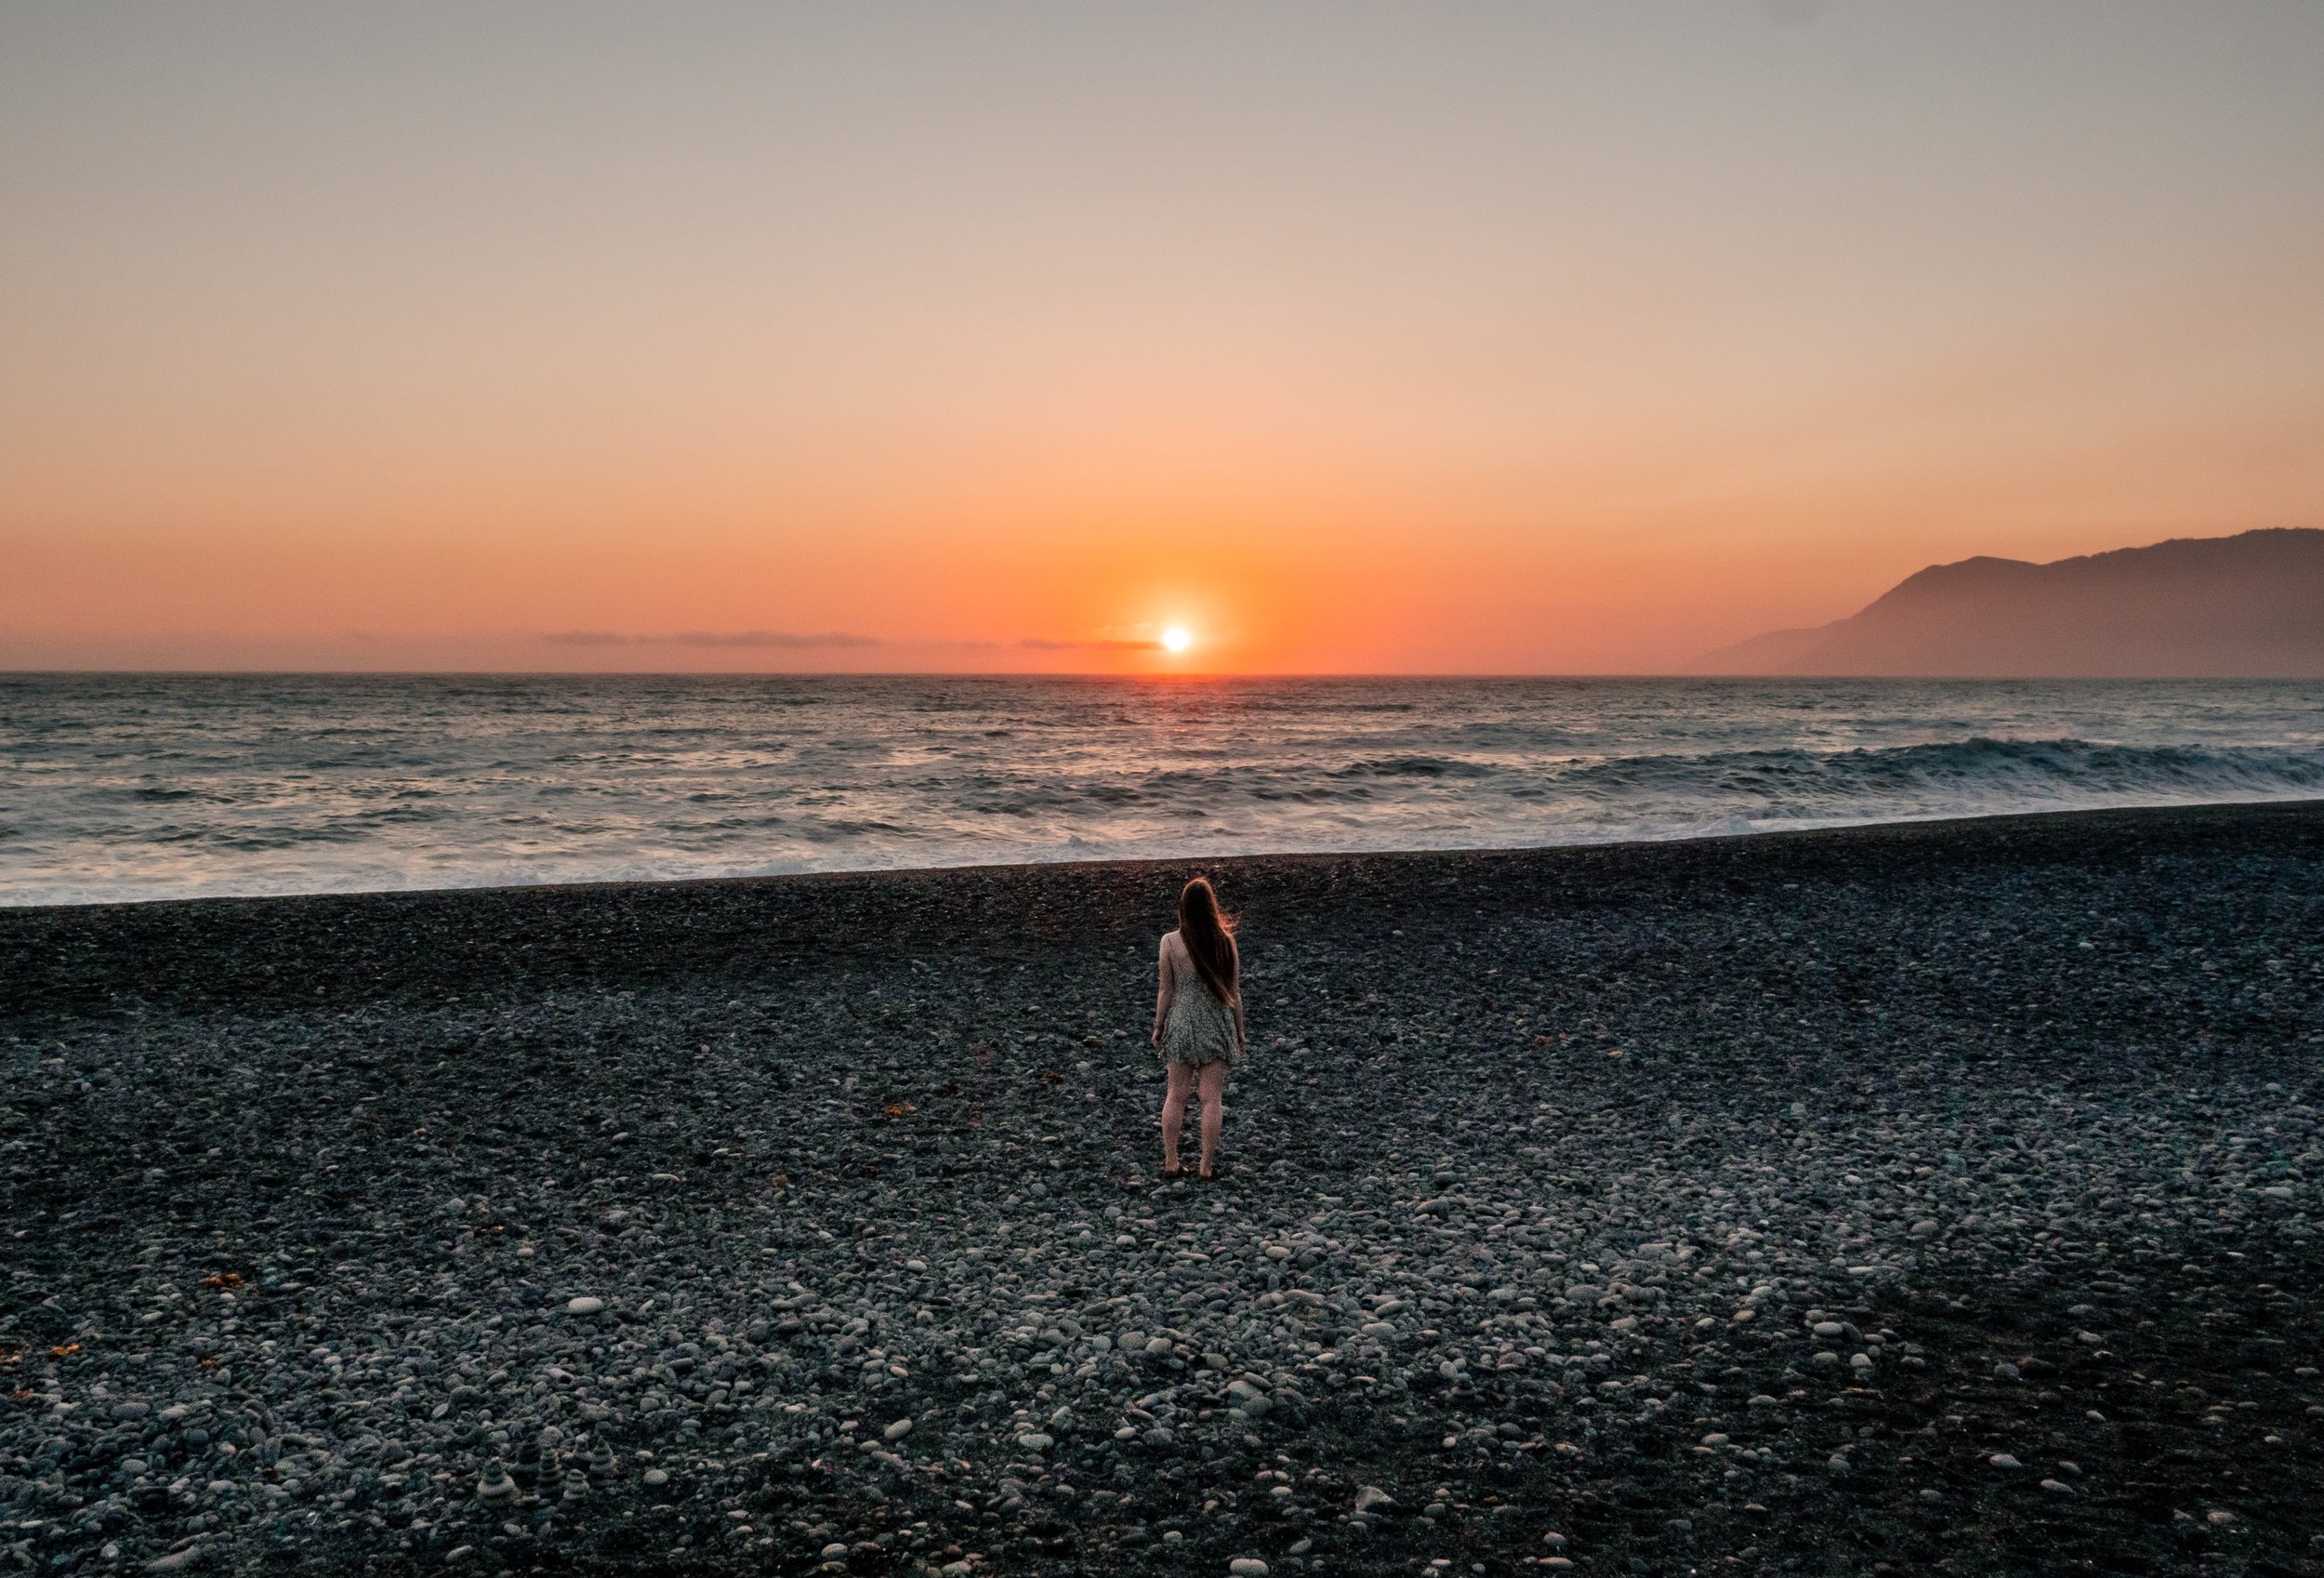
You can get a great sunset photo without having the sun in it at all! Sometimes the perfect sunset has a building blocking out the sun, the sun reflecting off the mountains making them pink, sand dunes being lit with a golden hue, or maybe a person is partially blocking out the sun creating a silhouette. There’s so much you can do with this tip.
Try the Sunburst Effect
I bet you’ve seen lots of images with the sun looking like a pointed star. You can get this effect by setting your aperture to a higher number like f/11 or more. It depends on the lens for when you start seeing them show up, but the bottom line is the larger the number, the more points on your sunburst. The smaller the number, the more it becomes like a glow.
You can also start to get colors coming off your lens from the right angle. Just try moving around and filtering the light with trees, an object, or your subject to see if it changes anything. I find that getting this effect is usually accidental or experimental. It does make an interesting touch on a photo though.
The image above is more like a glow at f/5 with very faint points. It did end up being very colorful at this f-stop rather than the smaller aperture shot I also took. I ended up preferring this one in the end. You never know which one you’ll like more, so make sure you experiment with different apertures.
Related Posts:
While these are great tips to use, you should keep learning about taking sunset photos so that you can fully master it for yourself. Make sure you keep educating yourself and using your camera, nothing is more valuable than your own experience with your camera.
Do you have any tips you love for sunset that I missed in this post? Please share any comments and suggestions with me in the comment section below!
If you’re not following Zack and me on social media, then you should go down to our social links above the comment section and do it! We post exclusive content and you get to see all the behind-the-scenes, current adventures, and more! Can’t wait to see you there!
Are you wondering about our photography and video gear? We have a post just for you! Click here!
Stay safe and explore responsibly,
Happy Adventuring!
Pin for Later!


Hello I’m Caryn!
I’m a Pacific Northwest based adventurer and storyteller. I take a lot of photos, Zack takes a lot of videos, and together we try to bring our fun adventures to life to inspire you to go outside and have meaningful, unique outdoor adventures for yourself!